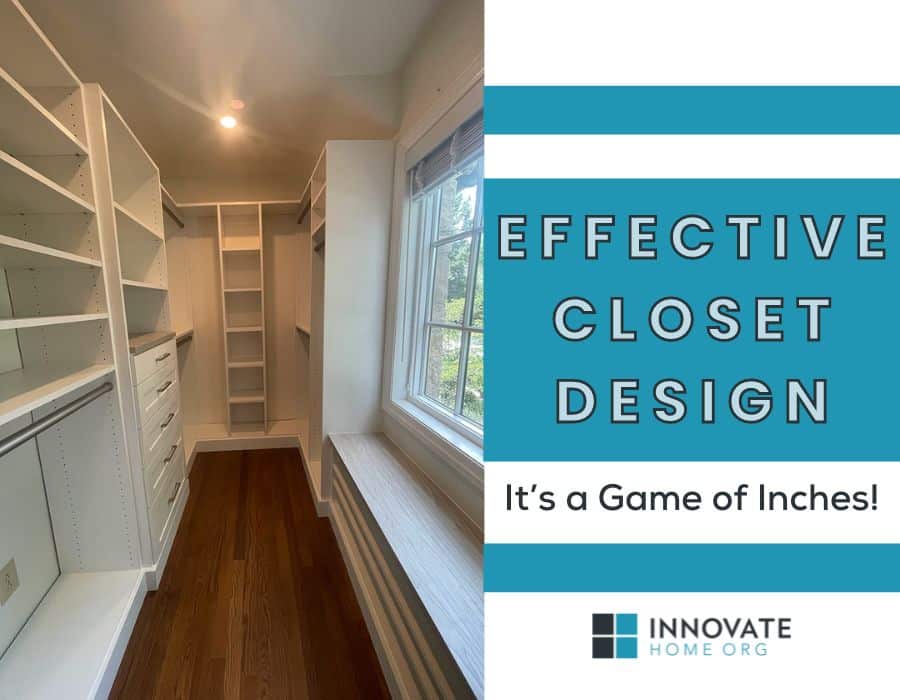
Effective closet design – it’s a game of inches!
If you’re a Cleveland Browns fan and lived through ‘The Fumble’ (as it’s NOT affectionately called in Cleveland!) when Browns running back Earnest Byner fumbled inches away from the goal line killing Super Bowl hopes, you know football can be a painful game of inches.

And conversely, if you’re dealing with a disastrously disorganized closet what you may not realize is how your poorly planned closet COULD live tremendously better if you (or a well-trained closet designer) knows how to efficiently use these inches to improve your storage.
However, if you’re thinking, Mike I don’t have a clue how to design an effective and efficient closet, you’re NOT ALONE! But the good news is, I’ll share 10 simple tips from experienced closet designers who’ve seen too many people struggle with their closets (and yes I’m one of these designers). Let’s check out these tips.
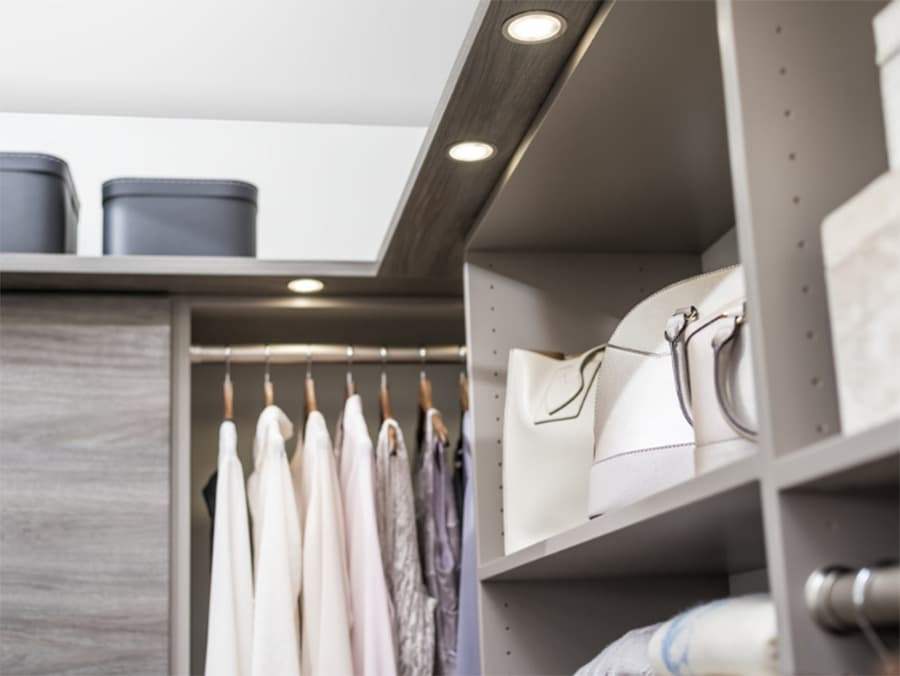
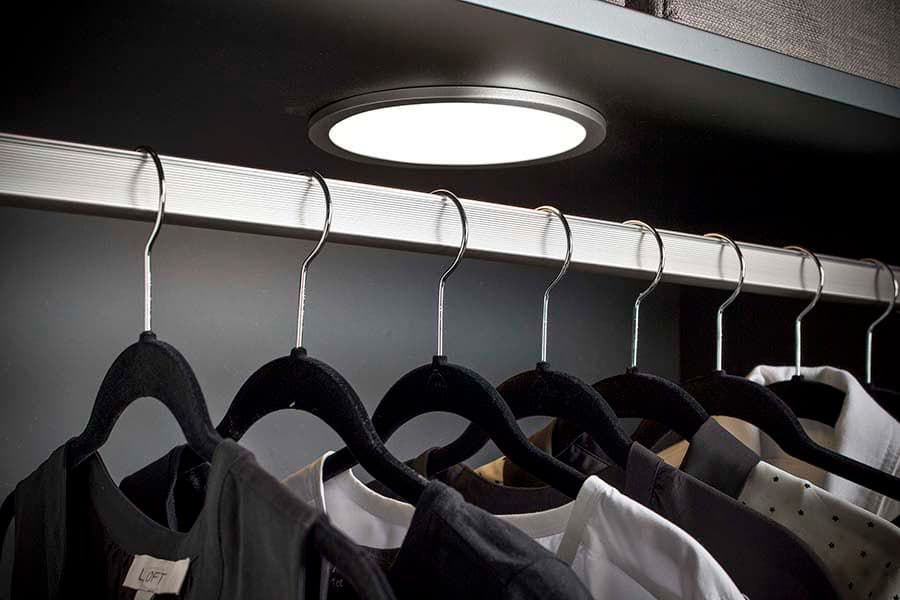
Tip #1 – Make sure your top shelf (and rods) are installed the optimal number of inches up from the floor
In most production builder-installed closets the height to the top shelf is the #1 problem which kills your ability to efficiently store clothes. In many poorly designed production closets, the top shelf/rod is 66” – 70” from the floor and screwed into the sides. This poor placement eliminates your ability to include double hang sections (where one hang clothes rod is above another) or to add more shelves.
What you end up with is…..
Dead space at the top of the closet (and below your clothes)– and less space for hanging!
So, I’ve got a solution for you – while not life altering – can prevent you from wanting to SCREAM every time you have to put up with your closet. Here’s what you’ll want to do.
If you have a closet with an 8’ ceiling, set your top shelf/rod combo 84” above your floor (also called AFF – above finished floor – to use the ‘fancy-schmancy abbreviation used by architects). And if you have a 9’ tall closet – set the top shelf/rod combo at 90” AFF (there I go again ‘trying’ to sound smart, using ‘architect-lingo!’).
![]()
Tip #2 – Make sure drawers can fully extend AND give you enough room to stand behind them
There’s nothing worse than shallow drawers which don’t give you enough room for bulky sweaters, and blankets. Or drawers which are too deep, so you have to dig for your socks like sifting through ‘popcorn’ in a shipping box!
To not have to deal with an ineffective closet dresser design, pay attention to the width and depth of drawers.
For walk in closets 16” or 19” deep drawer tend to work best. For reach in closets – 14” is most common.
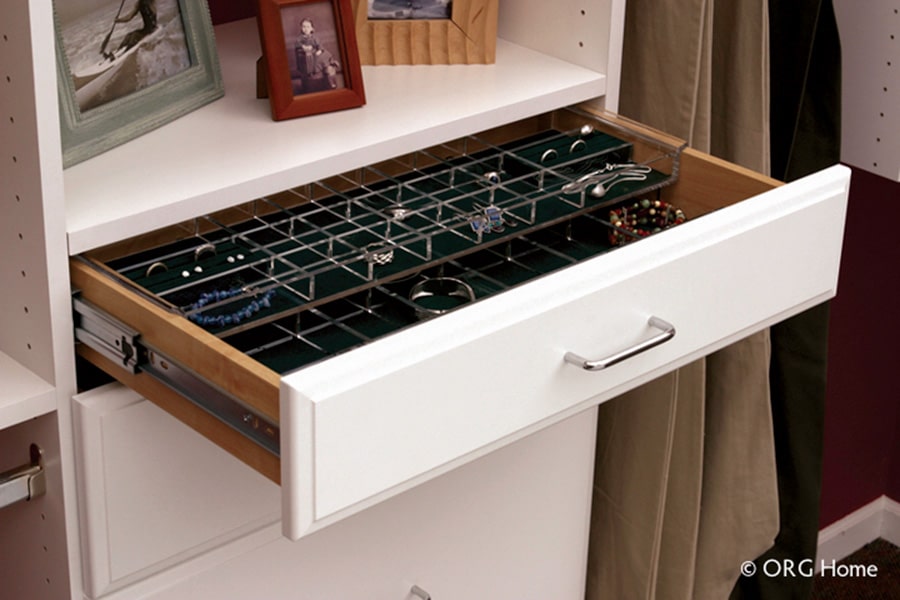
Then when it comes to the height of the drawers – 12” high is smart for blankets, sweaters, and sweatshirts, 8” high works well for pants, t-shirts, and yoga pants, and 5” drawers are efficient for socks, underwear, pantyhose, and ties rolled up.
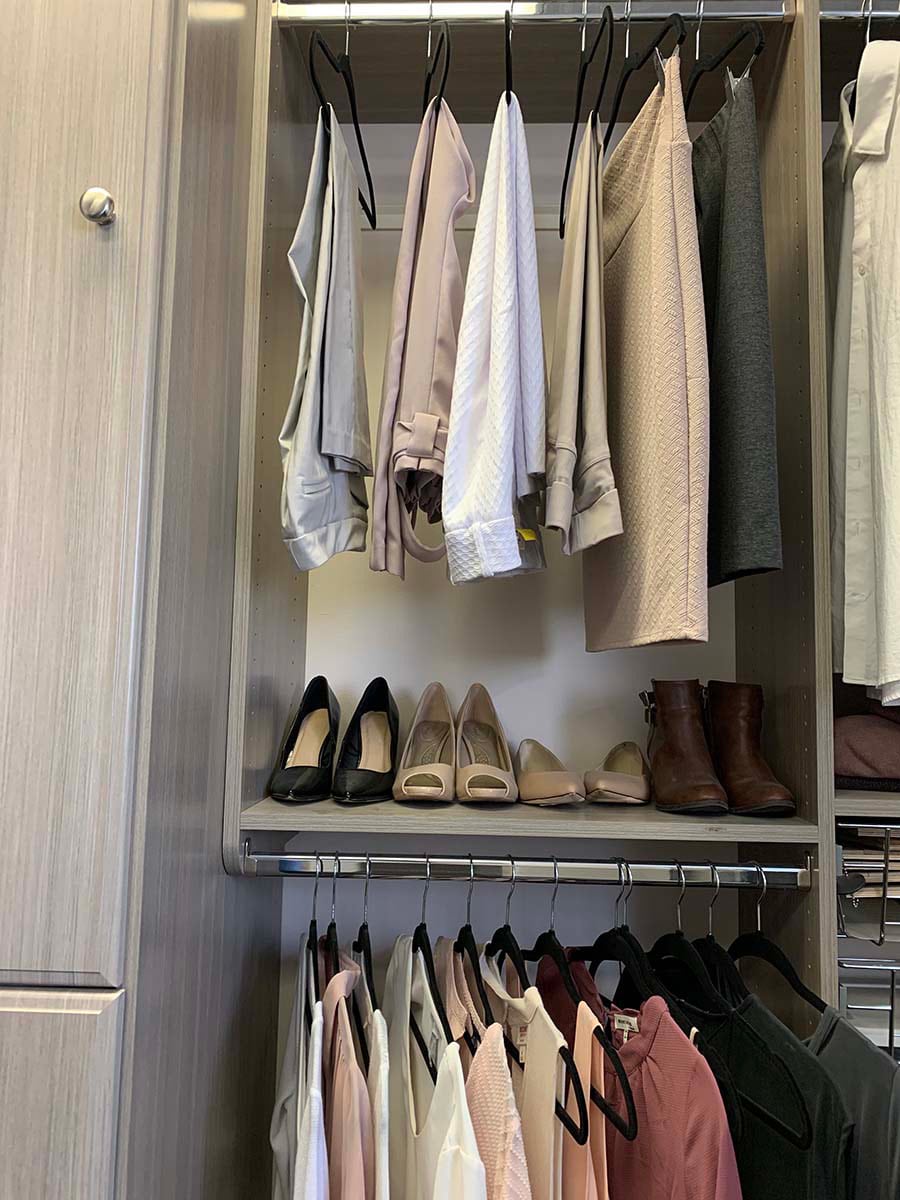
Tip #3 – Make sure shoe shelves are wide- and deep – enough to work for even the ‘big foot’ in your family!
One key closet ‘stat’ is to know is women’s shoes generally require 7” width/pair, and men’s shoes are 8” wide/pair.
Armed with this handy-dandy calculation you can then divide the width of your shelving sections by 7” (for a lady) or 8” (for a guy) to determine how many pairs per shelf you’ll fit.
And lastly don’t forget to consider shelving depth. Most ‘standard’ wire (or MDF painted wood) shelves are 12” deep. And while this works for shoes shelves for a lot of people – if you’ve got a ‘Big Foot’ in your fam, it’ll leave their shoes hanging off the edge (and DOES NOT look good).
Better shelf storages use 14” deep shelves. This is perfect for shoes and if down the road you want to use this shelving for clothing – you’ll still be good to go. To learn more about shoe storage tricks read 13 Wild, Wacky, and Workable Shoe Storage Tricks You Need to Know
![]()
Tip #4 – Make sure hanging clothes (especially if you’re ‘vertically challenged’) are NOT a PIA to reach!
If you never ‘sprouted up’ like your parents promised you and are ALWAYS elected to – ‘er required – to be in the front row of group photos with the other ‘little people,’ you may have also experienced the difficulty of reaching the top rod of a double-hanging fixed closet system.
But if ‘growing up’ has long past your gray haired or balding head, you’d also likely love a hanging solution which doesn’t put the top rod out of your reach (without a step stool). And fortunately, this solution DOES exist if you know this secret product. And that secret product is pull down closet rods.
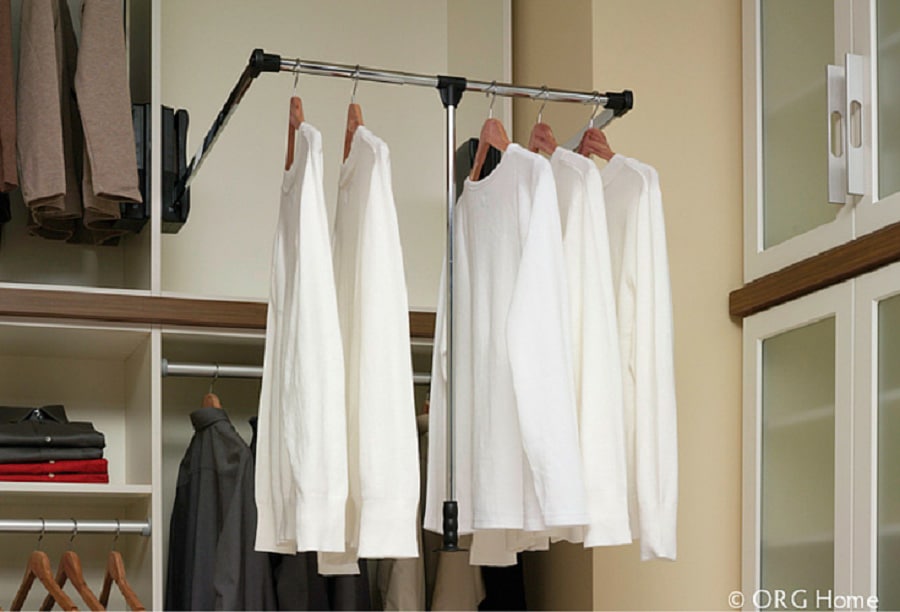
These rods are not only good for those who aren’t as tall as they’d like, but are also perfect for those who in a wheelchair and require a roll in closet design.
Tip #5 – Learn the ‘give ‘em the finger rule,’ so your hanging clothes aren’t bunched in like a can of sardines.
If you’re trying to (as my dad used to say) fit 10 lbs. of s*** into a 5 lb. bag by jamming clothes together in your closet– you know this isn’t an effective way to find (or store) shirts, pants, dresses, suite, or skirts.
So, your question may be – what is the closet industry standard for the right amount of space between clothes you should have AFTER you’ve weeded through the heartache (and rubble) of decluttering your closet?
Well top closet designers recommend you use the ‘give ‘em the finger rule!’ And NO, I’m not talking about that finger! If you use your finger between hanging clothes they’ll be approximately 1” apart (which is optimal).
And if you want another ‘bonus’ tip to make hanging clothes actually look good – buy thin (yet sturdy) felt hangers (vs. the fat ugly plastic ones or the cheap ones which come back from the cleaners). Then if you want to go full O.C.D., group like items and like colors together.
Tip #6 – Make sure long, double, and medium hang sections aren’t too short, or too long.
The worst thing about most builder-installed ‘closet systems’ (and I’ll use the term lightly here) made of wire or painted MDF (multi-density fiberboard) is they’re as fixed as your dad’s or crazy Aunt or Uncle’s (you name the family member here) political POV. When those rods are screwed into the wall – they leave ZERO room to adjust up or down to fit your – or your closet partner’s actual height. And you may be wondering what you can do about it.
The place to start is to INSIST on an adjustable closet system. With an adjustable system you’ll find holes on the side to move bars, shelves, or even drawers up (and down). This can not only help to suit your needs today but will allow you to change the layout if your mix of clothing changes (let say you retire and are FINALLY ready to unload long dresses or suits and replace them with casual double-hung clothes).
And finally, if you want to get more from your hanging space, I’m going to tell you an ‘ancient Chinese secret’ (Ok – it’s not really ancient, or Chinese – but it IS a secret people outside the closet biz have no idea about). And while this secret might seem ILLOGICAL it’ll help you gain space. The secret is to put shirts and blouses at the bottom of a double hanging section, and your folded pants and skirts at the top of the hanging sections.
The reason this is smart is when you do this you’ll ‘magically’ see a shelf below the skirts and pants you can use for more shoes or folded clothes. Walla!
![]()
Tip #7 – Do NOT leave the placement of the light switch up to your builder or remodeler
I can’t tell you the number of times I’ve seen closet storage space wasted for no good reason because the builder installed the light switch too close to the corner of a wall making it difficult to add shelving – or if you have hanging clothes by the door you have to ‘fish around’ to find the light switch behind the clothes.
So, if you’re building a new home, ask/tell (I don’t want to be pushy, but you’ve got to inform builders about this detail because few think about) to either put the switch outside the closet, or if it needs to go inside, position it as close to the door frame as possible.
Tip #8 – Don’t give up if you have blank space under a window
Many (uninformed) contractors or homeowners assume the space under a window can’t be uses for storage, however this is not always the case.
And while this space is rarely optimal for hanging clothes (because with 21” deep hangers below a window, it’d be hard to reach over and open it), however it can be perfect for shelving, or a bench seat with drawers – assuming you have at least 20” height between the window and floor.
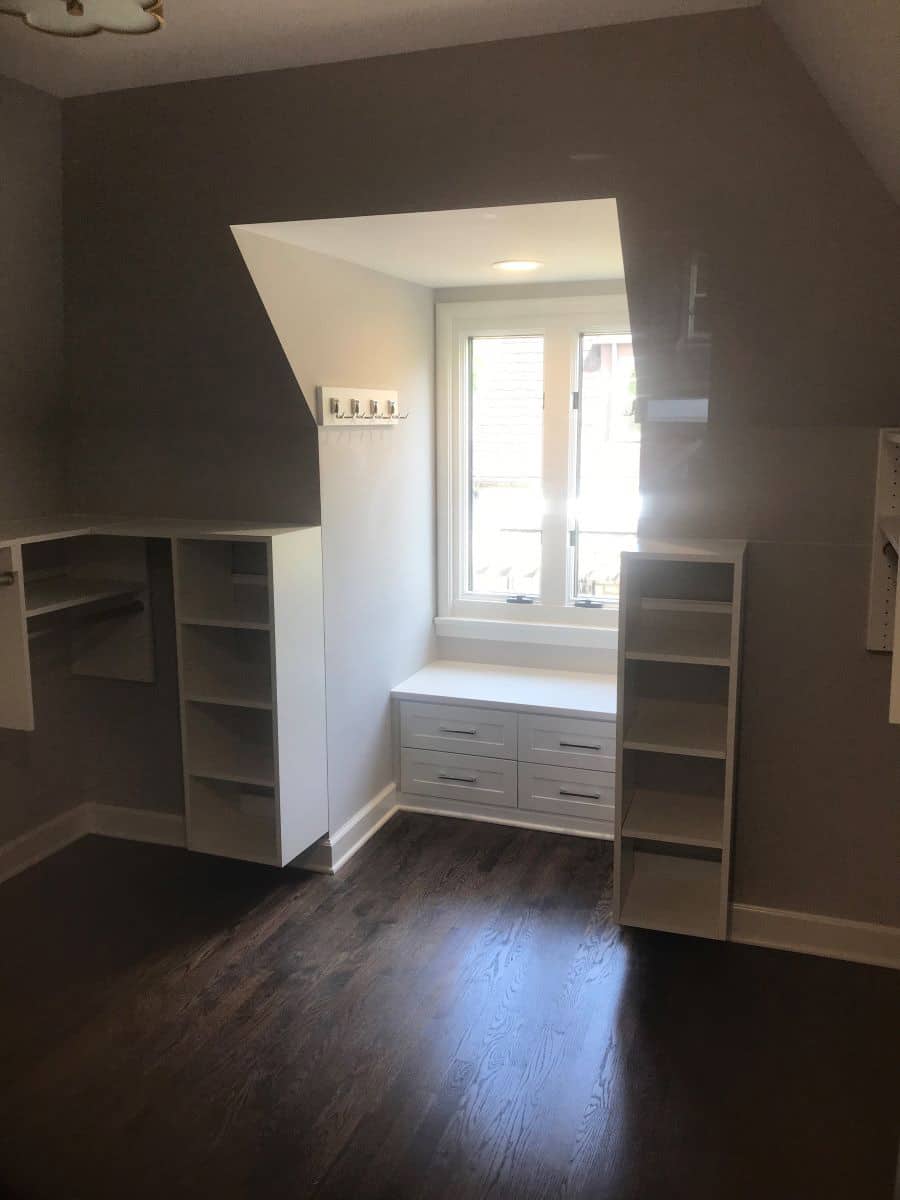
Tip #9 – Sloped ceiling DO NOT need to be the killer of all closet designs IF you know how to plan the space.
Another ‘Bermuda Triangle’ of ineffective closet designs are when you’re stuck with the dreaded sloped ceiling. And while slanted ceilings do add complexity to closet design, they don’t have to kill your storage possibilities.
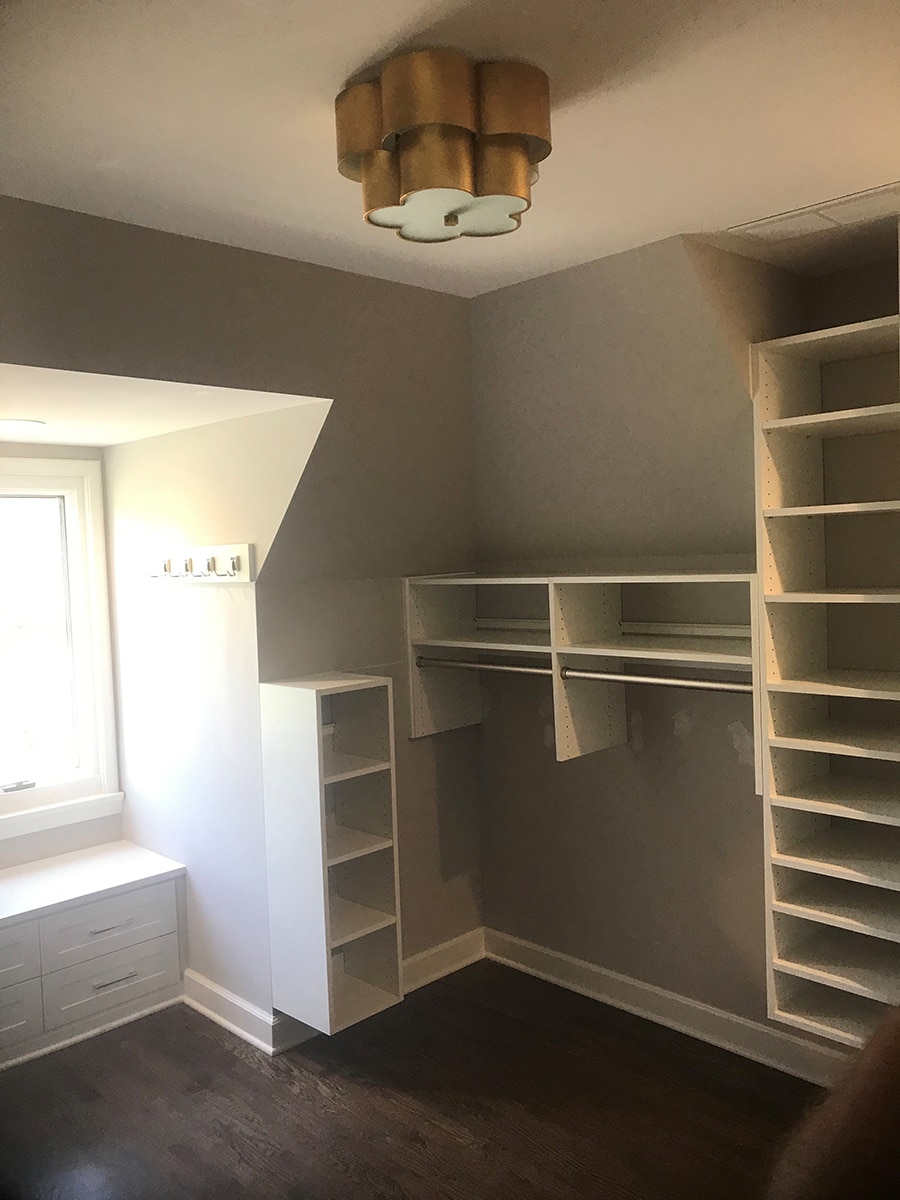
The key though to sloped ceiling closet systems is to thoughtfully plan where you include each type of hanging storage. In the tallest section, use double hang rods if you have 84” height to work with. For long hang (dresses) and medium hang (mid-height dresses and suits) 56” to 76” works well. And for ‘single hang’ sections (which are often under a dormer) you’ll need approximately 40” to 54” height.
And it’s also smart to note sloped ceiling closets are best designed with custom closet systems where the heights and widths can be adjusted to your specific measurements and slopes.
![]()
Tip #10 – Plan your base trim or section widths so your closet system will not sit directly on exhausts, over access panels, or cover outlets.
Closets can be the perfect place for builders/remodelers to hide access panels to your attic or bathroom plumbing (since closets are often located next to the bathroom).
And closets benefit if they include outlets (to run a vacuum or to plug in your iron) and have exhausts to make the space more comfortable.
And while these elements in a closet are good – when it comes to a closet design they can make a novice really screw up the job who doesn’t know how to work around them – or doesn’t pay attention to them until AFTER the closet parts (which can’t be returned) have been ordered.
And it’s for this reason me (and my professional closet design buds) laugh when we hear an owner or contractor say, ‘it’s just a closet!’ It’s easy-peezy-lemon-squeezy…..they think…until they encounter these obstructions or ceiling height variations!
So, the question becomes how can you (or your closet designer) work around challenges and create the most efficient closet design in your space? Here’s 3 steps to make it happen:
- Step 1 – Locate your obstructions and create a drawing – Measure from the left or right corners of your walls where the outlets, exhausts, windows, access panels etc. are, how large they are, and how far up from the floor they are. Create an ‘elevation drawing’ (as if you’re looking at the wall in front of you) and put the obstructions on this document. If possible create this drawing in a 3D program.
- Step 2 – Think through a ‘design concept’ for your closet – The ‘design concept’ process is where you’re creating a game plan on where – in an optimal situation you’d like your drawers, shelves, hanging etc. and how wide, tall, and deep you’d like them to be.
- Step 3 – Pencil in (if you’re working with paper) – or create a 3D design (if you’re a professional) to see if your products will ‘work’ in your desired locations – This is where the pedal can hit the metal. If you use a ‘floor based’ closet system (where the sections are built onto the floor) will the sections conflict with an access panel, exhaust, outlet etc. If they do – one ‘remedy’ can be a wall hung closet system (this is where the closet is hung on the wall and doesn’t touch the floor). Another remedy if you don’t want a shallower wall hung system is to make a section larger or smaller (to avoid the obstruction). And if you don’t know what is – and IS NOT possible with section widths and closet products, consult a professional closet designer.

While many think closet design is a ‘creative process,’ (and it is) – what many don’t realize is effective closet design begins is with the ‘mechanics’ of what storage systems will fit in what locations. You need to work the math and measurements first. Sorry to break that reality to you math haters out there!
So, how can our team help you say bye–bye Felicia to your disorganized closet and get a system which works on DAY 1 (just like your ‘favorite’ – sarcasm intended – politicians do)?
I’ll give it to you straight and tell you EFFECTIVE closet design IS NOT as simple as throwing up (and no, I’m not referring to a hangover type of throwing up) a few rods and shelves – and saying it’s just a closet. And if the home builder, remodeler, or previous owner has left you with a crazy closet mess you’re enduring today you may be asking, ‘How can I figure out this closet ‘game of inches’ and NOT go nuts in the process?’
Here’s 2 options:
- Option 1 – Push the easy button and call a professional closet designer. With a professional closet designer, you can ‘leave the driving/input’ to them and then help to tweak their 3D closet design to fit your needs. And if you need a custom closet in Columbus or Cleveland Ohio call 614-545-5888 or request a free estimate.
- Option 2 – DIY your job – If you take this route pay attention to the tips above and create an ‘elevation’ (looking at the wall) view with the light switches, wall heights and widths, access panels etc.). Then try to find closet sections designed to work in the space you have – and around your obstructions.
And finally, thanks for reading (and living through my wackiness along the way). I hope this article has helped you ‘size up’ how to create an effective closet design which’ll not only meet – but exceed your expectations and help you be victorious over your ‘closet game of inches.’
Mike
Tags: closer designers, closet design, closet designer tips, closet light switch location, closet rod heights, closet shoe shelving, closets for short people, Columbus closet design, Columbus effective closet, Columbus efficient closet, custom closet systems, designing a closet with a sloped ceiling, drawer heights in a closet, drawer widths in a closet, effective closet design, efficient closet, pants on top of a double hang section, pull down closet rods, sloped ceiling closet design, storage under a closet window, women’s shoes in a closet, working around obstructions in a closet
Sonia
| #
Really enjoyed the points here for maximizing space. I’m wondering if a 10 foot high ceiling is tall enough to do a 3 tier hanging rod. I measured my husbands shirts and pants from the top of the hanger/rod, longest shirt is 40″, and his folded pants are 22″. If I give an extra 6″, 3″ for top and bottom, that still leaves 46″ to the ceiling top. The closet is small (10.5 ft x 6.5 ft) so I don’t want it to feel closed in if I use a 3 tier, but it sure would provide a lot of extra hanging space. What are your thoughts? TIA
Reply
Mike Foti
| #
Sonia – I’m glad you enjoyed the post. It would be possible to do a 3 tiered hanging system – especially if you have pants which are folded over. You’d likely want to put the ‘out of season’ clothes at the top – because they’d obviously be hard to reach.
We once did (in a larger closet) a library ladder which made it simple to get clothes at the top.
Let me know if I can help further – Mike
Reply