5 Simple Steps to Design and Organize Your Kitchen Pantry
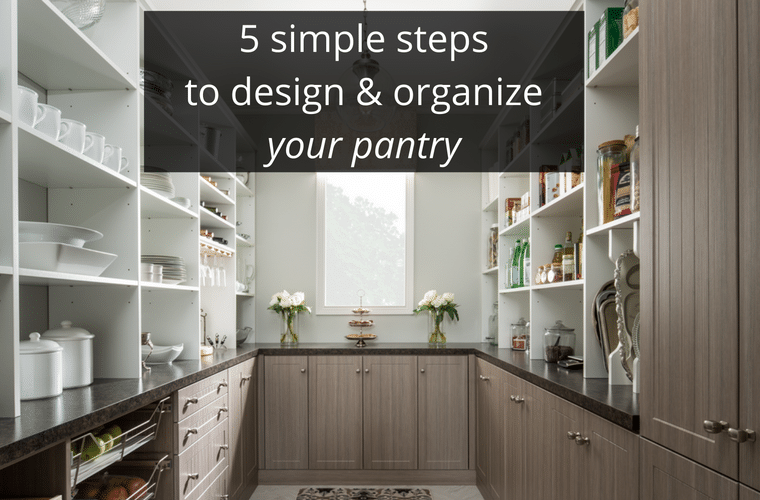
Is your kitchen pantry such a mess that packing lunches or prepping for a holiday meal is a huge source of stress? Are your shelves so narrow that canned good and boxes are falling off the edge? Does pulling out cooking sheets out require you to be a mini-Houdini? If you answered yes to any of these questions stepping back and evaluating the design and organization of your kitchen pantry cabinets will be a worthwhile thing to do.
If you’re like most people where to start is daunting. In this article my goal is to help take the mystery out of this process – whether you have a reach in pantry closet in a small home in Upper Arlington or a sprawling walk in pantry in Dublin the 5 keys to designing and organizing are the same.
Lets’ check them out!
Step #1 – Clean out the pantry shelves and cabinets first – bummer!
Before you can get a handle on whether the design of your pantry makes sense you’ll need to organize, purge and clean out that messy pantry.
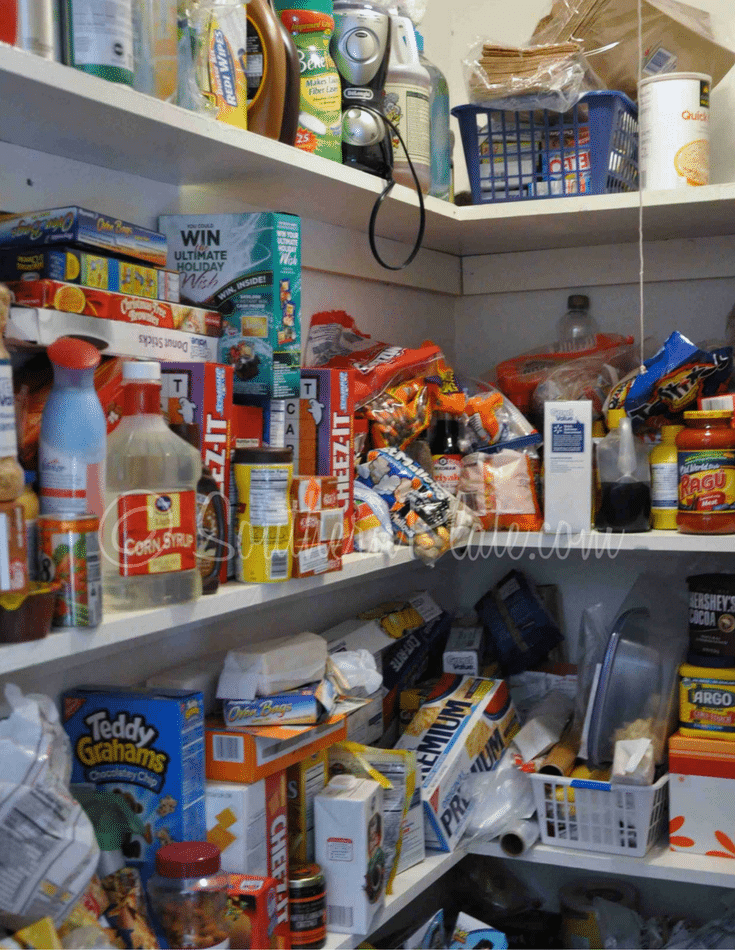
Yes – this is certainly not a fun job – but probably not as bad as when you had to change your kid’s diapers!
To begin the organization process, pull everything out. Yes, and I mean everything. Things will initially look like a disaster…but trust me – they will get better. Organize your items into common groups. Separate out baking supplies, snacks, non-perishable items, sheets and cookie trays, pots and pans etc.
Now comes the tough part, getting rid of stuff. First find out of date items and throw them out. Look at things your family is just not going to eat and donate them (it can be tough giving away “perfectly good food” but if it’s just eating up space – pun intended- it has to go). Lastly look at your cookie sheets, pots, pans and cooking utensils. If they look nasty you’re not going to use them. As Johniee Cochran would say, “If they don’t fit (what you’re going to use in the kitchen today) you must acquit!”
Step #2 – Identify what you want to store in your updated pantry
Now that you have ignited the “urge to purge” in step 1 and gotten rid of the outdated cans, ugly cutlery and stuff your family won’t eat you now have a better of idea of what could go into the pantry…but there is a but! Before you start putting things back think about what items would be best stored in this area.
'After decluttering, #pantry design must focus next on what you want to store.' Click To TweetWould you like your pantry to have more functionality than your current space? Would you like an area to prep foods? Maybe a cool spot for some wine glass storage in addition to the items you want to put back. Would some of this storage be better off in the kitchen itself or in a broom closet in the hallway?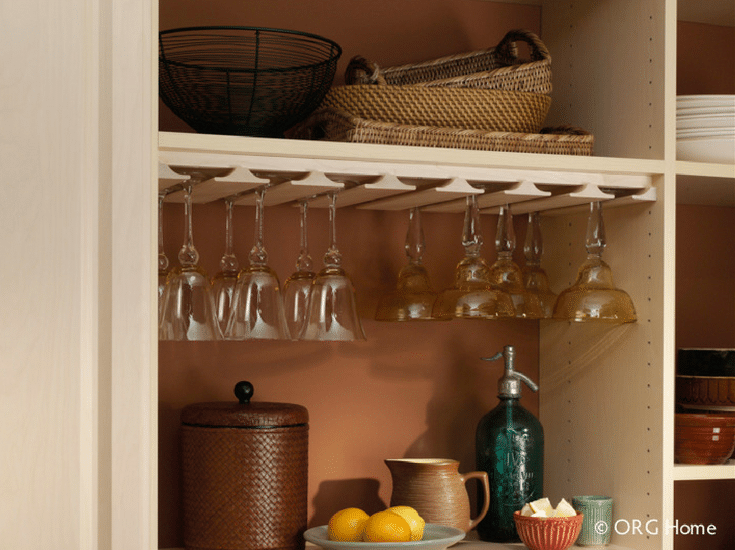
Step #3 – How are your bones (AKA the structure) of the pantry closet
OK this step is not about osteoporosis – man that is hard to spell! It’s about the “bones” (you might also say the structure of your pantry closet). Now that everything’s out and you have a better feeling of what you want to put back in see if there are any structural problems with the pantry. Ask yourself these questions to evaluate the structure of your pantry:
- Are the existing shelves sagging?
- Is there a place to vertically insert trays and cookie sheets (note – vertical storage makes it WAY easier to get things out of the pantry vs. stacking them horizontally – and it won’t make a bunch of noise taking your trays out either).
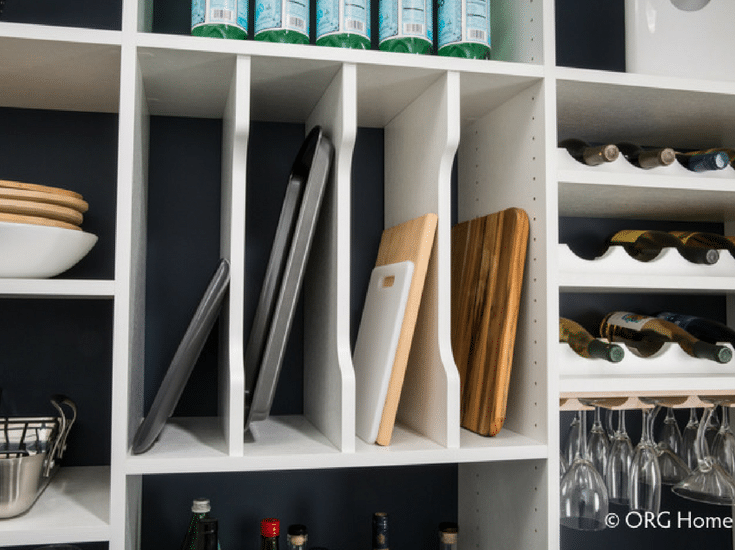
- Are your shelves too narrow to fit what you want? Does the existing pantry provide you with a prep area?
- Would you like to be able to “hide” some of what your storing behind doors or drawers to have a neater appearance?
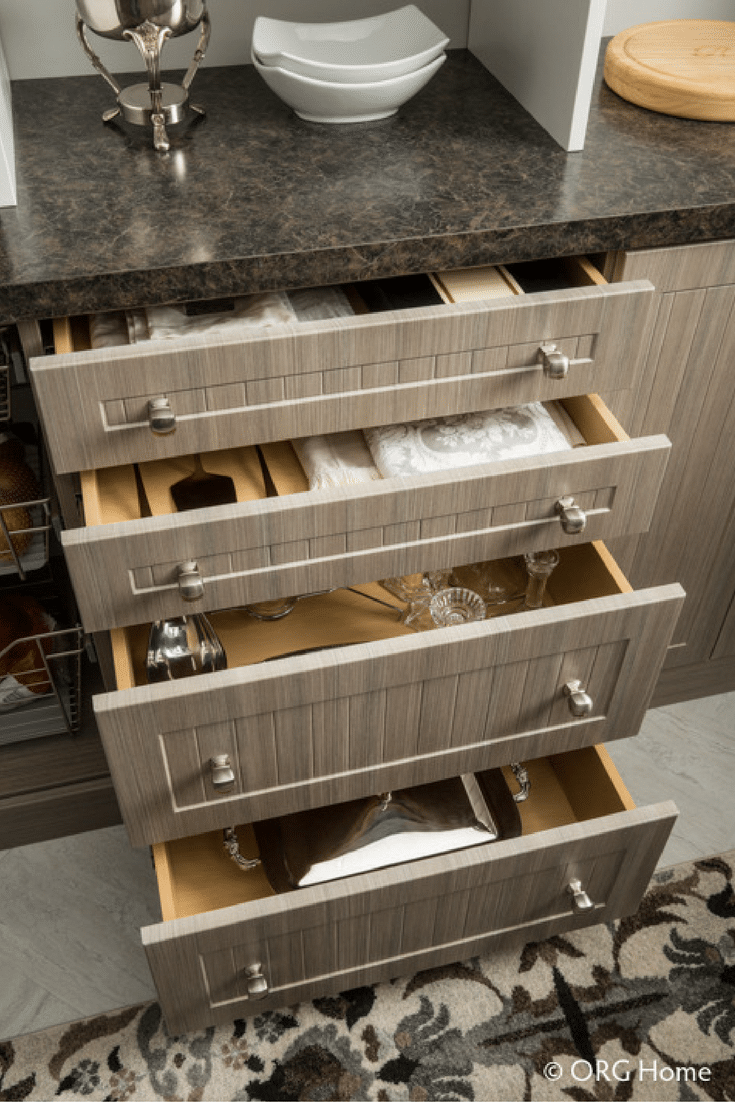
- Would you like to have an area you can lock up so the kids can’t get into dangerous cleaning supplies?
If the existing structure does not work this is the time call a professional pantry cabinet designer to create a custom design to fit your needs.
Step #4 – Turn the pantry “twilight zone” into the “organized zone”
So in steps 1 to 3 you’ve purged, identified what you want to store and determined if you need a new design. Now it’s time to consider creating “zones” in your pantry.
'Use zones to turn your twilight zone #pantry into an organized space.' Click To TweetBasically what zones will do is make it easier to find and put things away. You can create zones by separating out the baking, cooking, vegetable and/or snack items.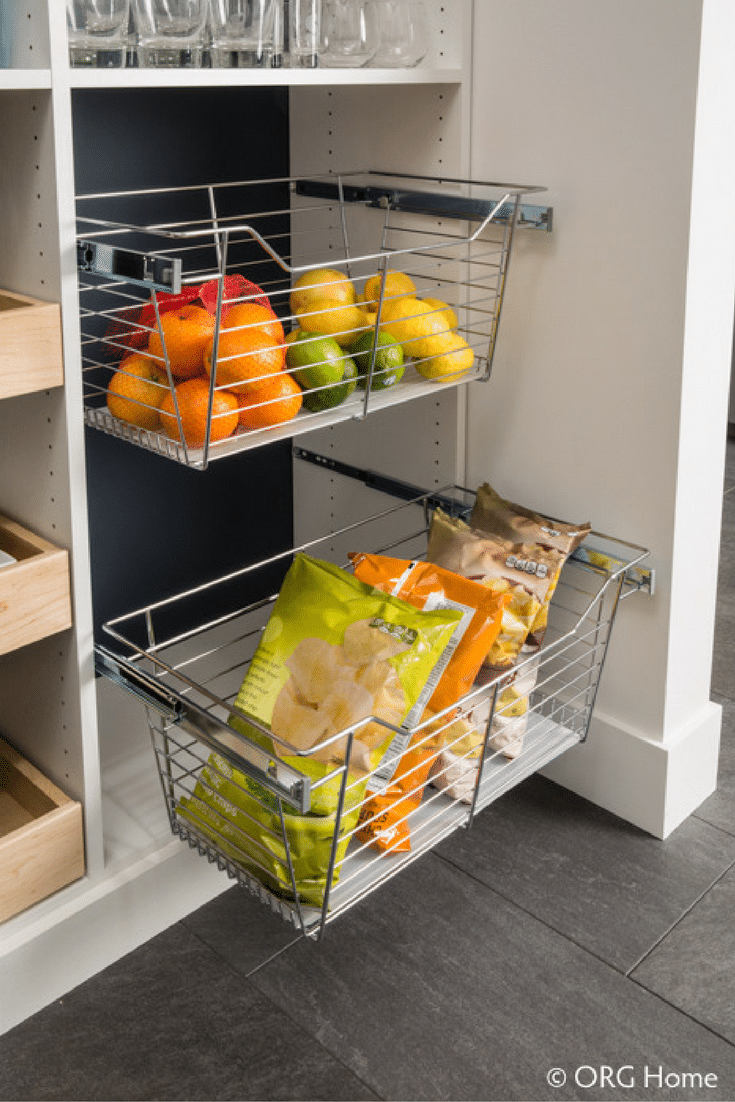
Set up a separate area for cleaning supplies and the pots and pans. The main thing is to avoid a hodge-podge of stuff thrown into the pantry in a random fashion.
Step #5 – Get your label maker and wicker baskets
Now that the purging, strategizing and “zoning” (it’s sounding a bit like we’re talking about a city building department here) are done, it’s time to have some fun and take your organization to the next level. While it’s nice to have new shelves, cabinets doors and drawers you’ll want to visually (and quickly) know what’s stored inside your pantry.
This is where a label maker and wicker baskets come in handy. Put a label onto the front of clear containers and/or use wicker baskets to group and identify like items.
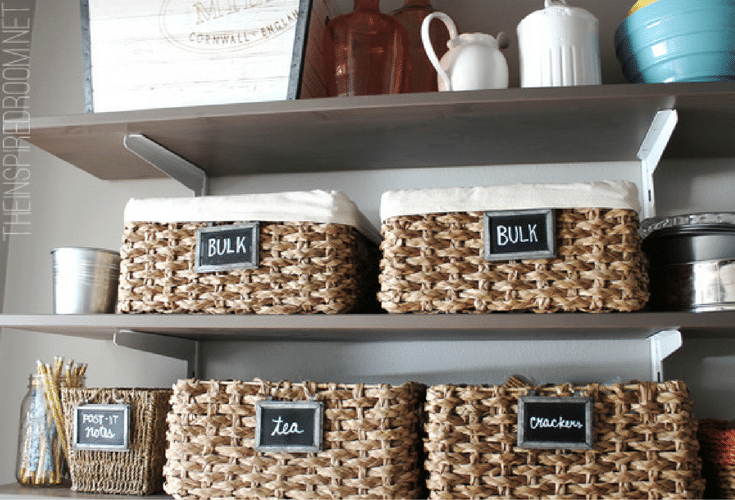
The better you visually sort things, the more time you’ll save preparing meals and enjoying time with “the fam.”
Conclusion
Getting an organized pantry in your home in Columbus, Cleveland or wherever does not have to be a complete pain. Just follow the simple steps (or get help from a professional pantry organizer) and you might actually start enjoying spending more time in the kitchen.
###
To get a more organized pantry for your Columbus home call Innovate Home Org in Columbus at 614-545-6888 or in Cleveland at 216-658-1290.
Follow the author on Twitter @Mike_Foti or our companies’ @InnovateBuild and @InnovateHomeOrg.
Tags: Columbus pantry cabinets, Columbus pantry closet, Columbus pantry organizer, Columbus walk in pantry, custom pantry design, dublin pantry cabinets, dublin pantry shelving, pantry cabinets Columbus, pantry design, pantry organization Columbus, pantry organizer, pantry shelving Columbus, reach in closet upper Arlington, upper arlington pantry closet