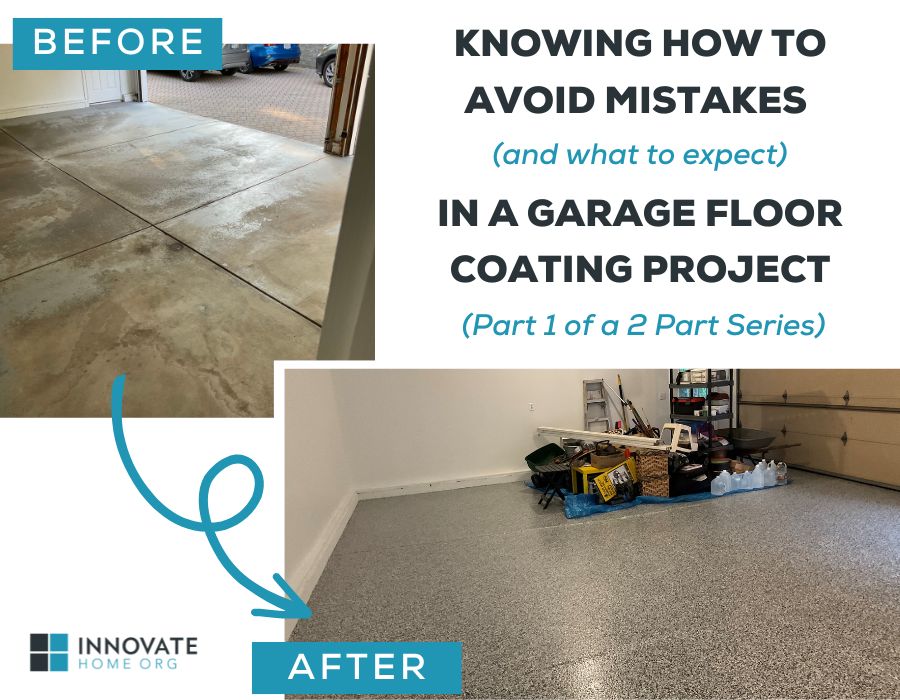
Knowing how to avoid mistakes (and what to expect) in a garage floor coating project (Part 1 of a 2 part series)
I’m embarrassed to admit this. However, even though I own a company which designs and sells professional garage cabinetry systems in Columbus Ohio, my wife Rose and I have lived with a butt-ugly, disorganized, garage for YEARS!
Yes – I’m coming clean and admitting the ‘shoemaker’ (‘er garage cabinet designer and home organization business owner) has really, really, really bad shoes (‘er an ugly garage).
And – as anyone who uses their garage as their main entry knows – your garage IS NOT the disaster you DON’T SEE! No, you drive in, and walk through it (IF you have enough room) every single day (and sometimes multiple times a day).
And – how did we (my wife Rose and I) end up with a ‘half-painted’ garage floor and (less-than-organized) open storage shelves buckling under the pressure of too many bag of potting soil, gas cans, and windshield washer fluid? We got here like many of you.
First, we ‘attempted’ to apply our own garage floor coating system 12 years ago. We followed the instructions on the DIY kit we bought from Home Depot to the ‘T.’ And you know what happened?
That doggone garage floor paint came off WITHIN A WEEK AFTER WE INSTALLED IT! Rose and I WERE NOT happy campers (‘er DIY garage floor coaters).
Second, we accumulated ‘stuff.’ We have exterior lighting systems (still not installed), tools, half-full bags of jointing sand and potting soil, wasp sprays, deflated balls, and various and assorted ‘junks’ (as my father in law used to call them).
And since our ‘stuff’ was ‘neatly’ (OK – being sarcastic here) organized on the open shelves, it looked ugly (just like existing storage in 99.9% of the garages I design cabinet systems for as well!).
Well Rose and I finally had enough of this ugly, disorganized garage with the half painted floor. We decided the time had come to end our garage misery. As The Jefferson’s would say, “It was time for us to be movin’ on up” (OK – not to the East Side with a deluxe apartment in the sky) – but to an organized garage we could be proud of (and dare I say leave the doors open so people can walk through it!). And for those of who can’t get enough of The Jeffersons Movin’ on Up theme song, I’ve included it below:
We wanted to make sure we DID NOT screw up this time. We would make sure we got a garage floor which lasted more than one week! We would get durable cabinets and shelves to stand the test of time and wouldn’t sag or look messy. We would be thorough in our research and design and do our best to get it right (OK – technically I’d guess you’d say the second time!).
So, in this two-part series, I’ll take you ‘behind the scenes’ (more like behind the closed garage doors so you couldn’t see how ugly it was) so you can ‘live through’ our garage transformation (and decisions we made along the way).
In part 1, I’ll focus on the garage floor coating project (which we screwed up royally years ago trying to DIY it).
In part 2, you’ll see our team from Innovate Home Org do their magic and install garage cabinets, slatwall and even a small bench to take off muddy shoes after working in the yard. Our current ‘organization system’ (and I’d use this term lightly) was a hodge-podge (does anyone even use that term anymore?) of stuff bought at home centers and a DIY pegboard installed by my late Father-in-law (miss him dearly).
And while we did choose to do the garage floor first and then install the cabinets, this project could have started with the cabinets and then the floor could have been done later (and according to our garage flooring contractor – who’ll you learn about below, doing the floor later would not have added to the cost).
Now, let’s dig into part 1, the garage floor.
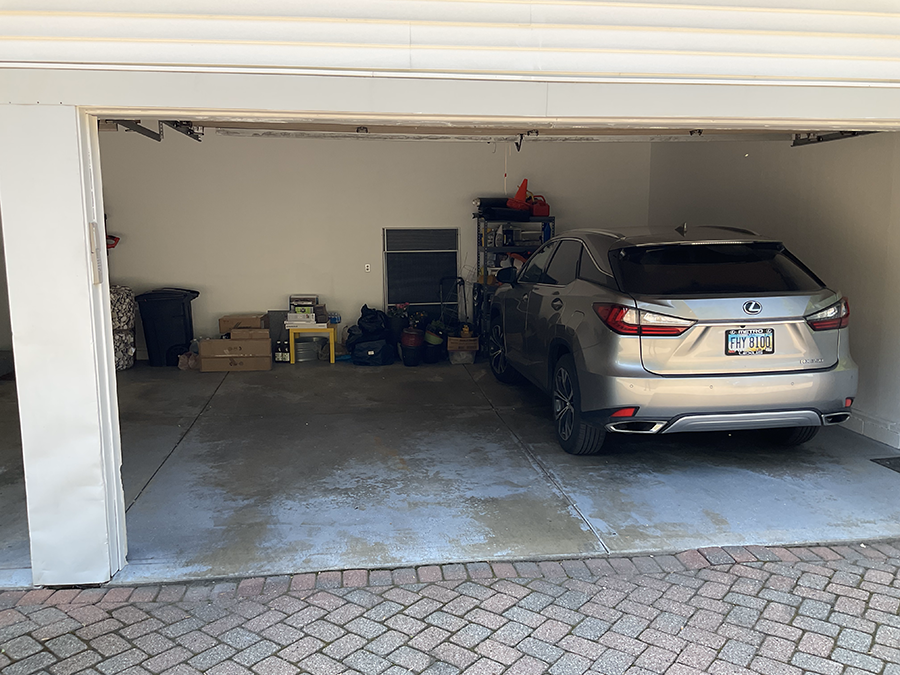
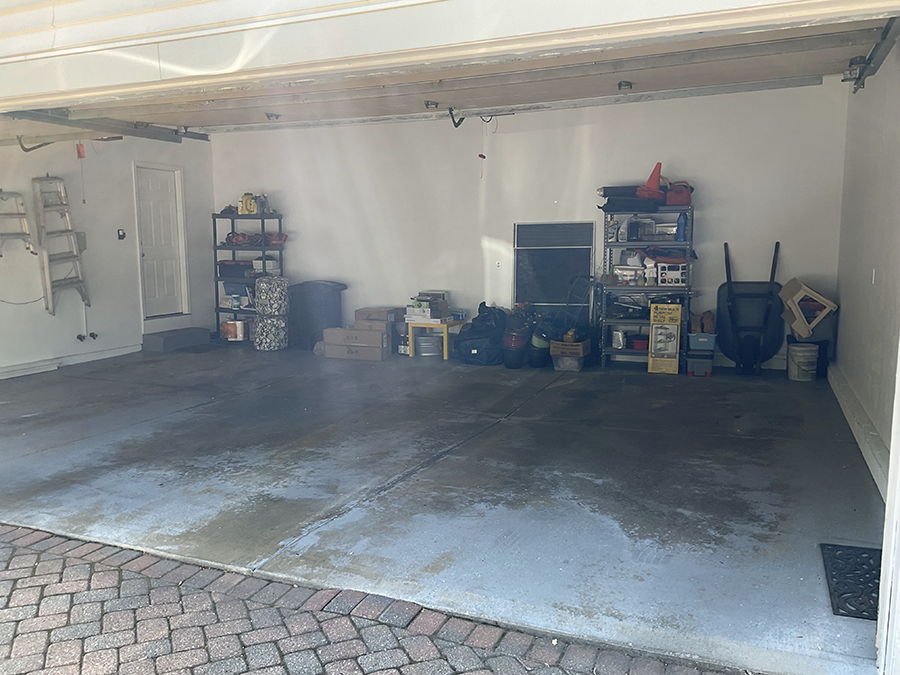
Sharing the ‘scene of the crime’ (‘er the ugliness before our garage transformation began)
Much as I’m sure Rose doesn’t want me to do this, I know you need to see the ‘before’ so you can appreciate the ‘after.’ So, here’s a couple of pictures of our ‘glamour garage’ before the transformation began (and DO NOT let Rose know I shared them with you!).
Choosing a garage floor coating system (and contractor)
I don’t believe in repeating the mistakes of the past (nor did we want to allocate the time for a multi-day DIY garage floor coating project). And since our existing (DIY) garage floor coating lasted less than 7 days (OUCH!)– a DIY job WAS NOT something Rose and I were going to put ourselves through again.
So, I started researching garage floor coating contractors and found 3 to give me estimates. All 3 arrived for their appointments on time. And yes this could be a Ripley’s Believe it Or Not home improvement statistic. They were comparably priced (about $6/square foot or $3,600 for my 21’ x 30’ three-car garage). However, there was one clear ‘winner’ to me.
I chose Encore Garage of Ohio and signed a contract with Mike Padden, their owner. There were 3 reasons I made this decision.
![]()
- Reason #1) Mike’s company (Encore Garage of Ohio) has ‘been-there, done-that.’ He’s been in the business for 16 years. He thoroughly explained his process. One of the companies I interviewed was a nice (and knowledgeable) younger guy, but his company was one year old. This was a concern for me since our DIY floor lasted a bit longer than a blink of an eyelash. I wanted a company that had been around. OK – I’m not saying Mike’s an old guy, but OK, Mike’s an old guy like me!
- Reason #2) Mike offered a lifetime guarantee through Encore Garage. One of my estimates only gave a one year guarantee. That was ‘high-stakes’ garage poker (a possible $3,600 investment gone-bad) I wasn’t willing to play!
- Reason #3) I was familiar with Encore Garage through a friend in San Antonio Texas. A good friend of mine, Carlissa Montoya, through the Association of Closet and Storage Professionals (our industry trade association) has an Encore garage floor coating business in Texas, and because of her association with it, I felt more comfortable with the brand (even though these franchises are independently operated).
Prepping for the job. Dealing with moving the cars while the installation was happening.
To get ready for the garage floor coating project we had to take everything out of the garage. This was a good time to get rid of some junk. Rose and I were fortunate since we have less clutter than many people. In addition, we have a large driveway (and live in a safe neighborhood), so we were able to store our things on the side of our garage. I tarped our stuff so it wouldn’t get wet.
It was a pain playing ‘musical cars’ for a few days while the installation (and drying) process was going on though.
Let the games – ‘er garage floor coating installation process’ begin!
Step 1 – Preparing the Floor. Grinding vs. acid etching.
Rose and I met our installer – Tim Petty. Tim not only knows his stuff but was willing to ‘put up with me’ asking questions and taking pictures through the process. He’s a true professional. If you choose Mike’s company – I’d lobby for Tim to do your installation.
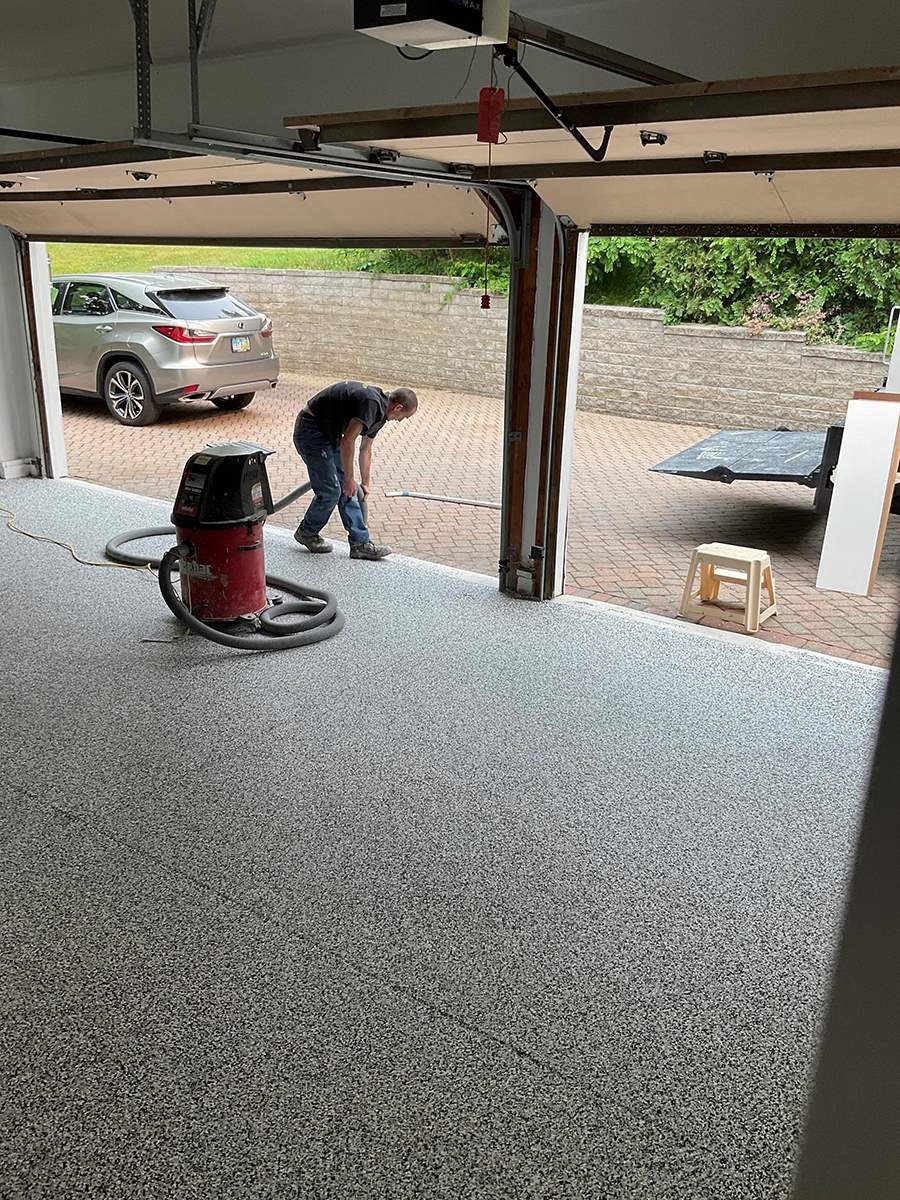
Step 1 (while NOT something you see after the floor is completed), is critical to a garage floor which will last! Tim used a high powered diamond grinder (with a HEPA filter system to minimize dust) to grind the top of the concrete garage floor. This IS NOT a tool sitting around a DIY’ers garage!
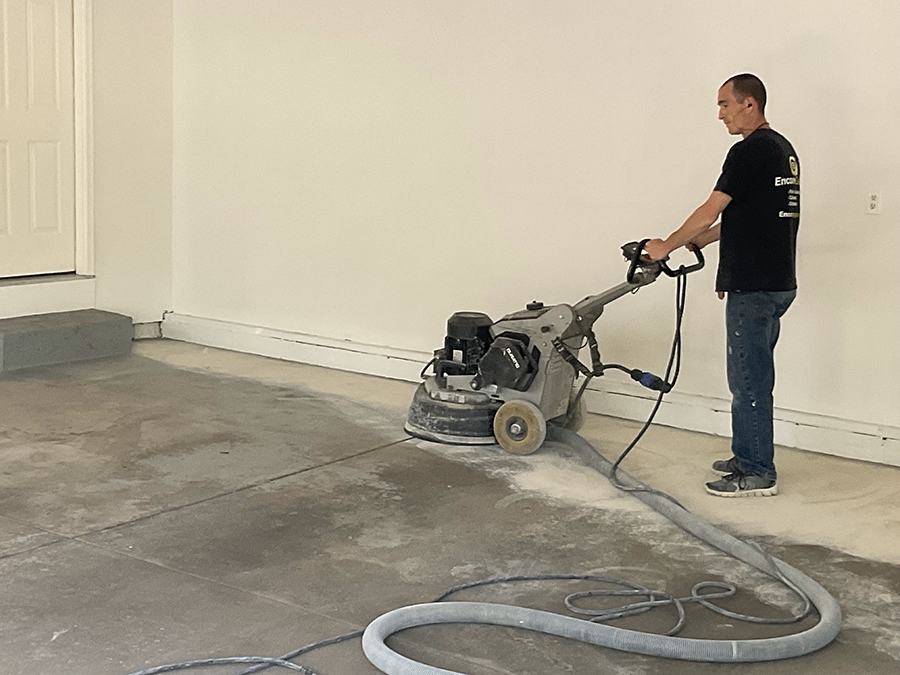
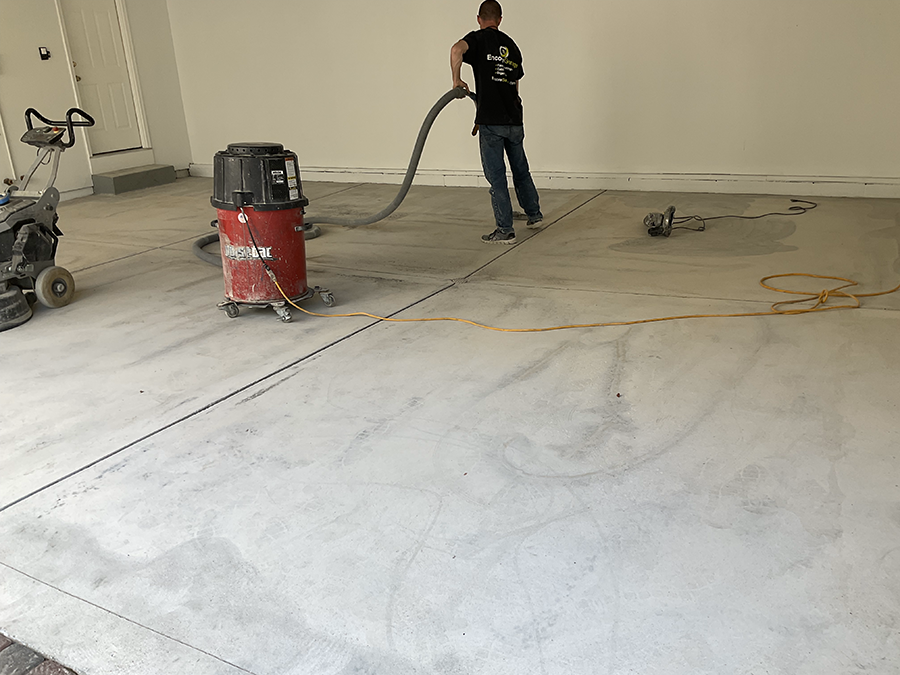
This opens pours of the concrete. You’ll see Tim not only uses the large grinding machine for the majority of the floor, but also a smaller grinder to work around the edges. Lastly he uses an industrial vacuum to remove any excess dust and dirt.
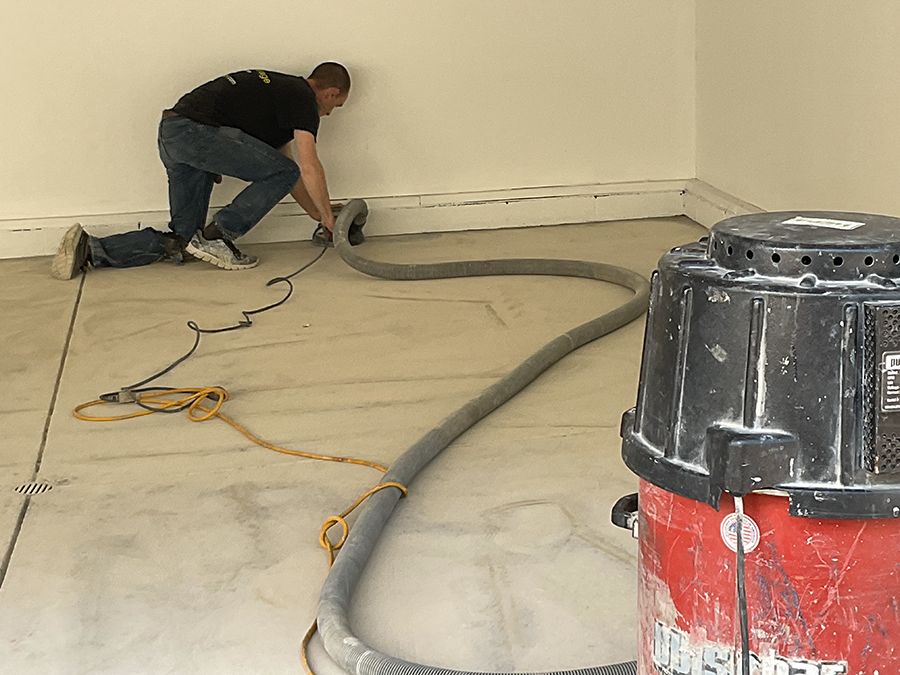
Using this approach ensures the epoxy base coat adheres properly to the concrete.
Note – the cheaper option is to acid etch the floor. This approach won’t provide as good of adherence of the base coat. When you ‘cheap-out’ you may put yourself into a ‘Fram Oil Filter’ situation (pay less now but end up paying more later when you need to redo the job – that’s us in this case). And if you’ve never heard the old Fram commercial (from 1972), I’ve included it below (notice how fuzzy everything is!).
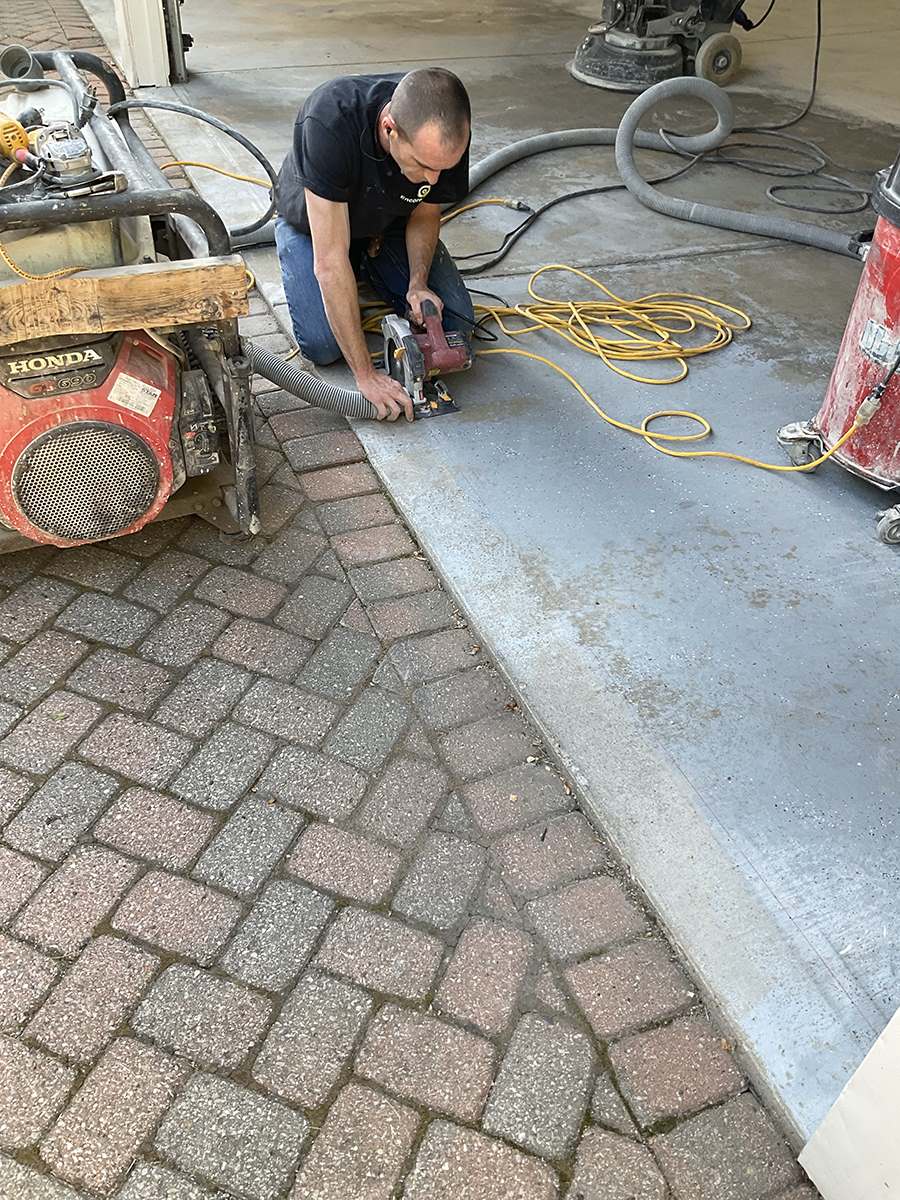
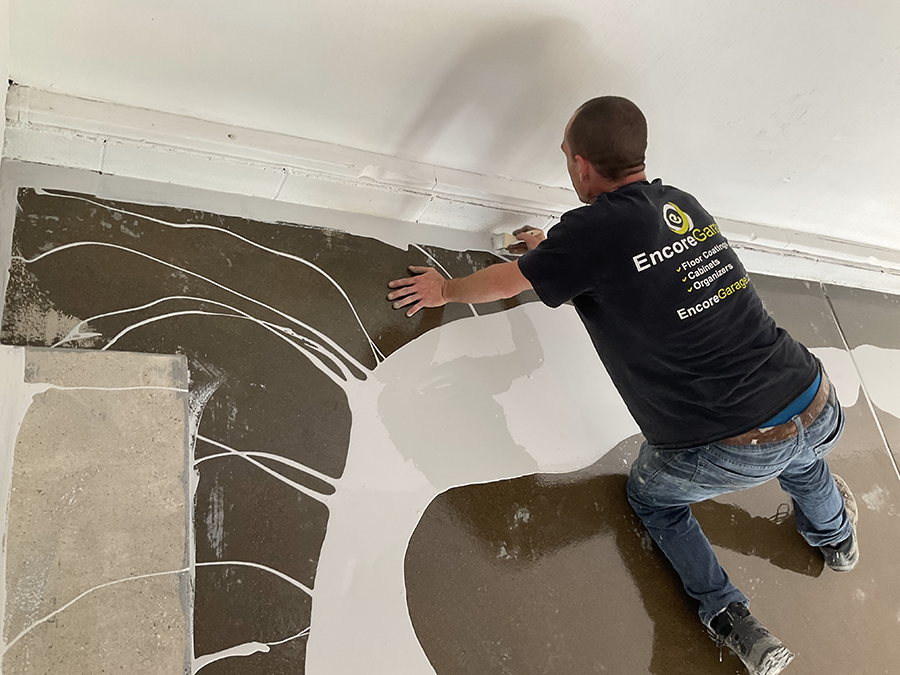
And one final detail Mike recommended was to stop the decorative floor coating where the garage doors go down. This required saw cutting a control joint as you’ll see Tim doing below.
Step 2 – Repair cracks, chips, and pitting. Add a moisture barrier (if necessary).
The good news for Rose and I is our floor (while 27 years old) was still in good shape structurally. The only repair work Tim did was to add sealant inside the control joints between the sections of concrete.
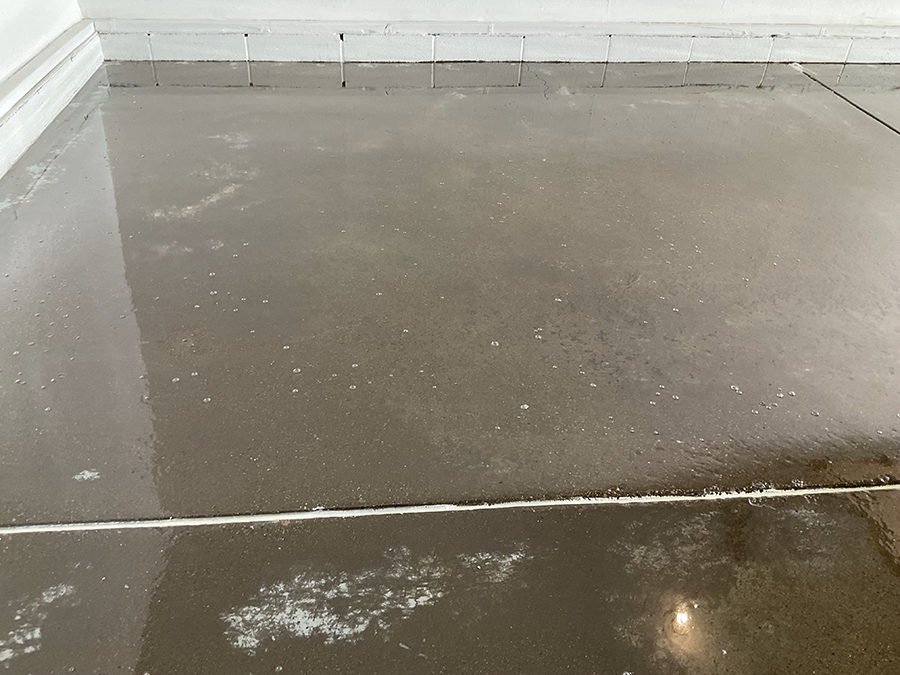
However, we did have some ‘bad news’ after the grinding process. In the picture below you’ll see dark spots. It’s moisture coming up to the surface.
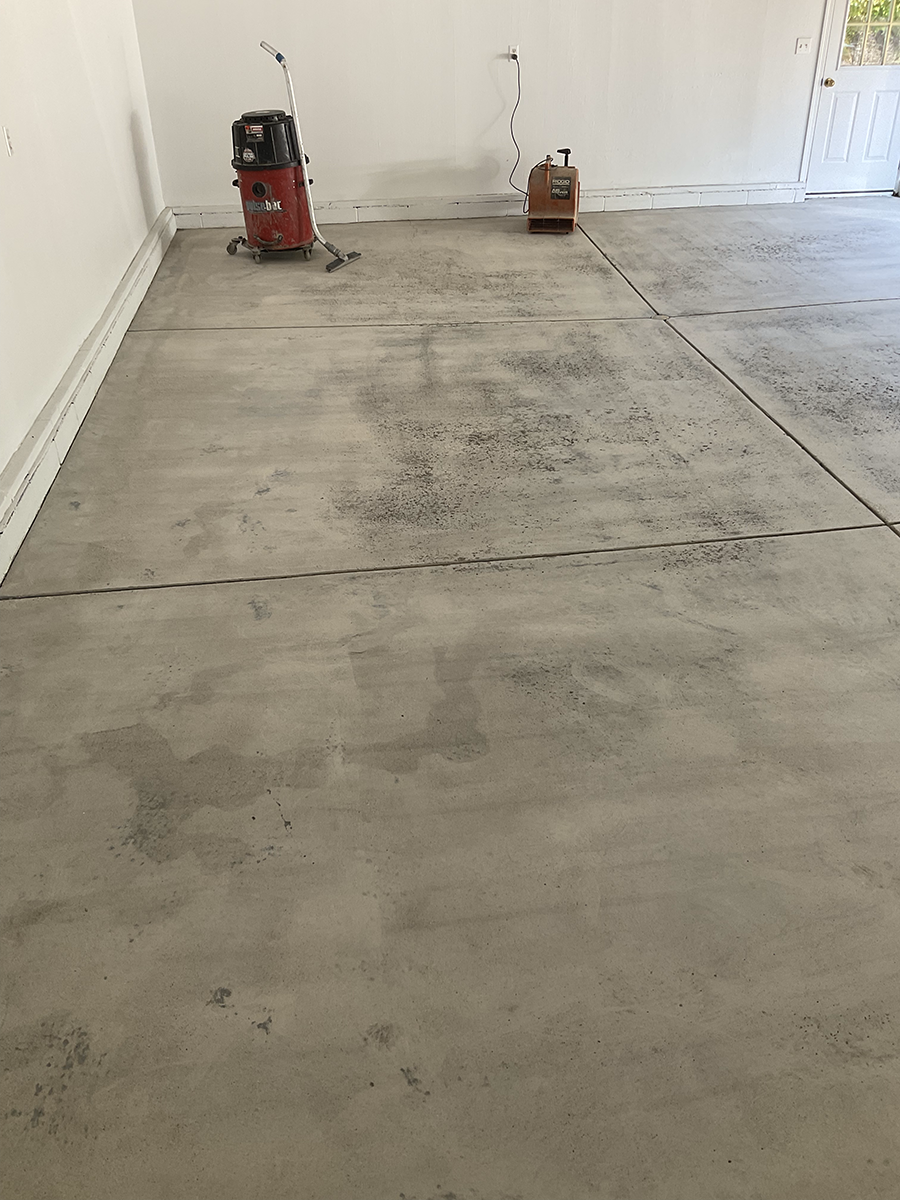
Tim tried to dry this moisture out with a fan overnight, but since this dampness was still evident one day later, it was determined a moisture barrier was best to ensure the base coat would stick well. Although the moisture barrier application cost extra, Rose and I didn’t want to be ‘penny-wise and pound foolish’ as my dad used to say. So, we OK’d this extra application. This material penetrates 1” deep into the concrete and forces the moisture out.
You’ll see Tim adding the moisture barrier here. The ‘bubbles’ you see after the base coat was applied show the moisture getting out of the concrete (and is a good thing).
The moisture barrier application added a day to the installation.
Step 3 – Adding the high performance epoxy base coat.
And finally, it’s time to ‘pretty up’ this garage floor!
Not to sound like a ‘Pitchman’ for Encore, but they use a thick, deep penetrating epoxy which absorbs into the pours of the concrete (opened up through the grinding process). And as Mike Padden from Encore told me, “The chemical formulation of these materials is critical. DIY systems are watered-down version of what professional’s use.”
While a high performance epoxy base coat is more expensive than other epoxies, or a fast-curing polyaspartic, it’ll hold up better over time.
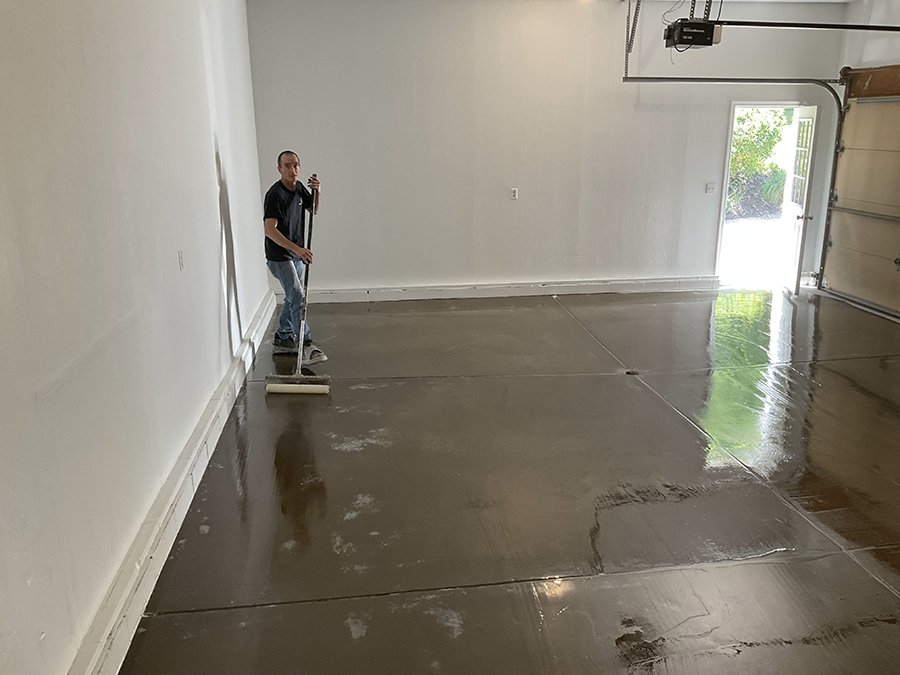
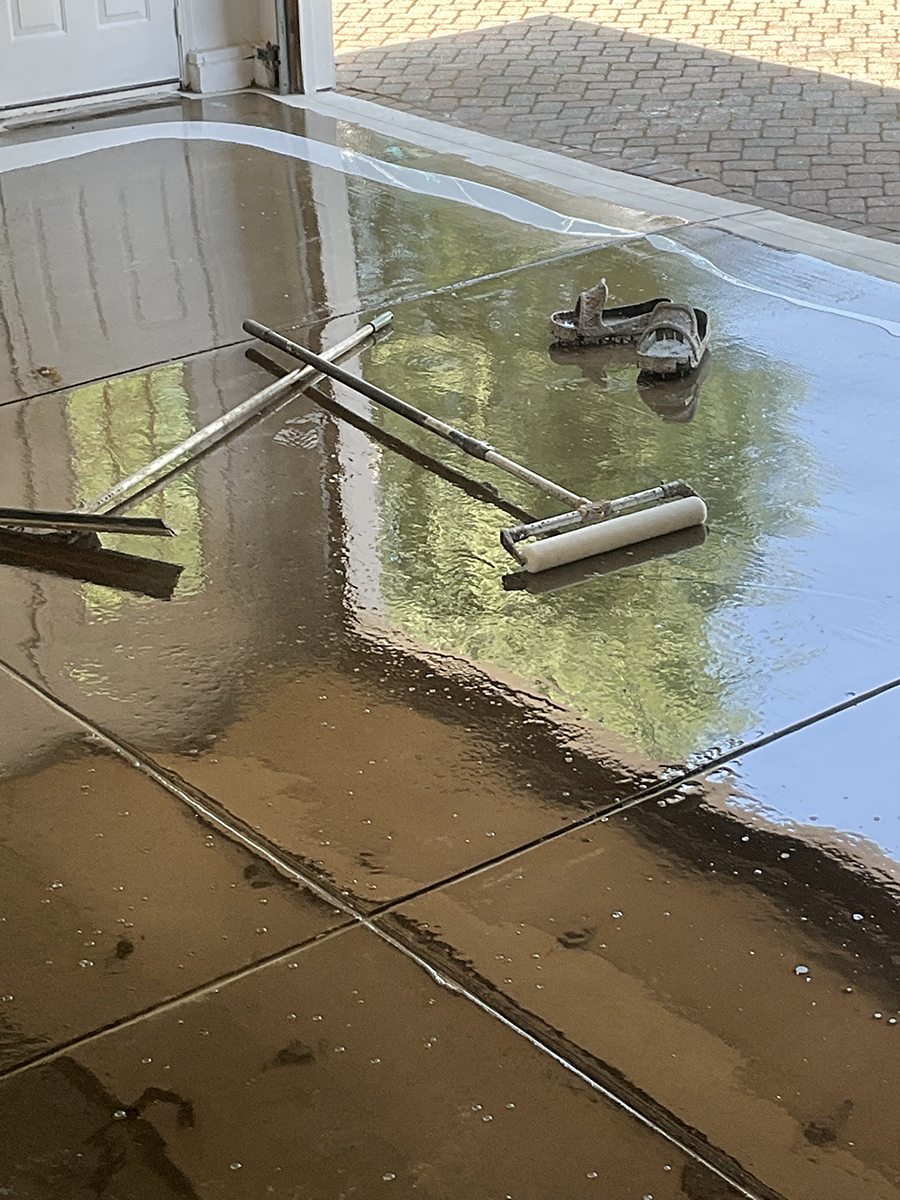
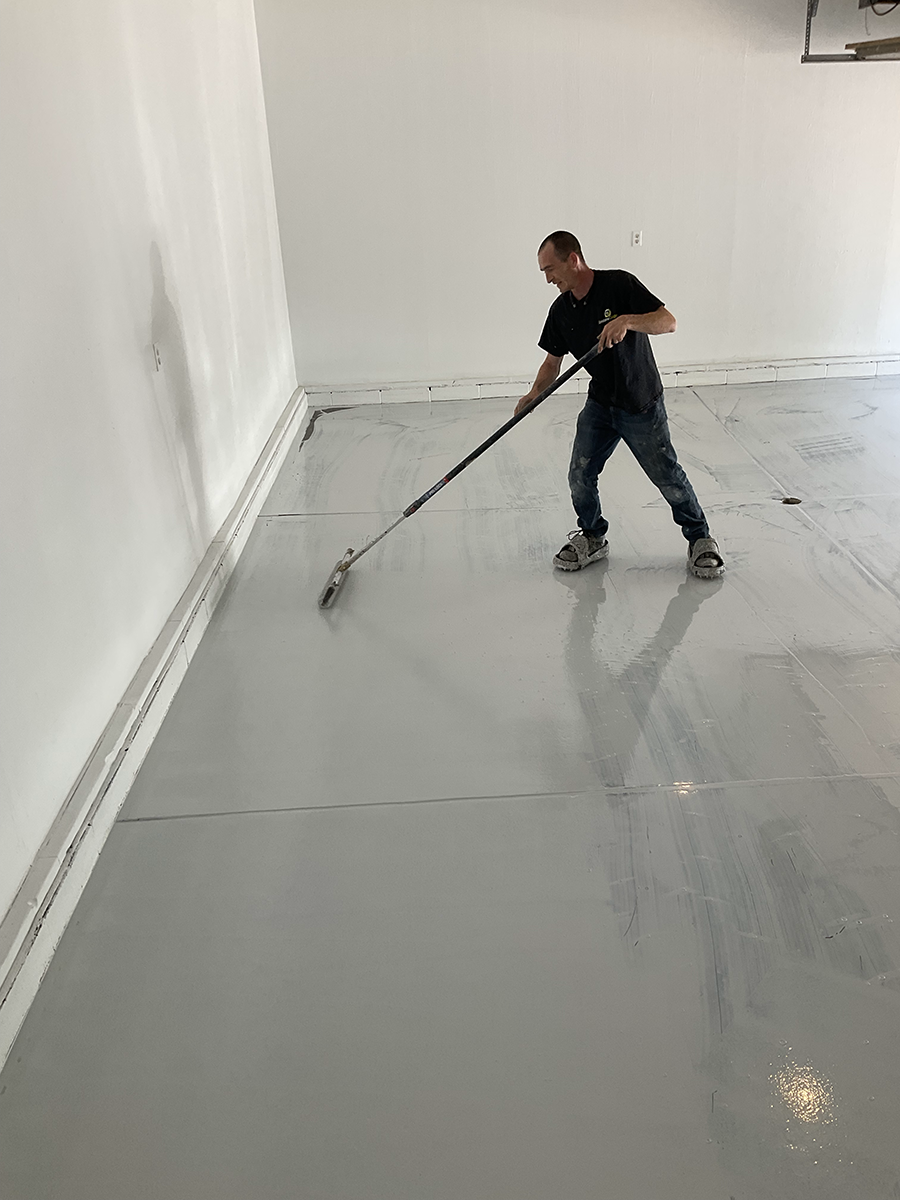
The base coat is poured onto the floor. Tim paints around the edges and the step into the home. The epoxy primer base coat is moved around with a squeegee and rolled out. Tim even uses these ‘funky shoes’ so he doesn’t slip in the process. Imagine a night on the town wearing these babies!
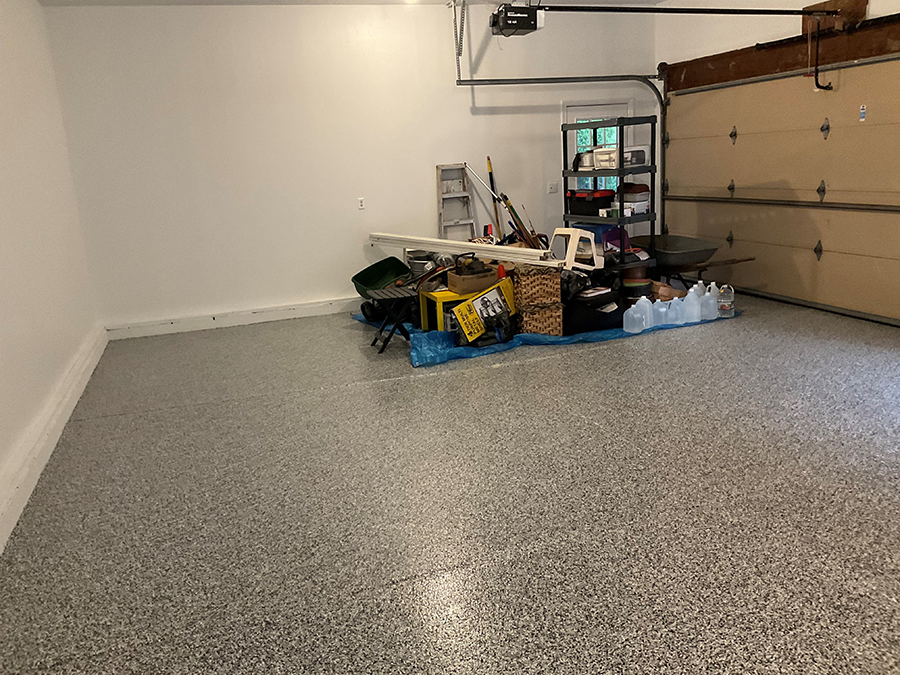
We chose a gray, white, and black finished floor – and the gray base coat will go well with the gray trim around our home.
I recommend when choosing garage cabinets – or a flooring system to take into consideration the exterior of the home. Make sure your cabinets and floor ‘make sense’ (as a fancy-schmancy designer would say) with your home’s exterior.
Step 4 – Adding the decorative flakes (polymer chips).
For many homeowners this is the ‘fun’ part of the garage floor installation process. Tim told me it’s like ‘feeding the chickens.’ See Tim ‘feeding’ our floor. And check out the ‘fancy’ (yet practical) ‘shoes’ he uses for this job.
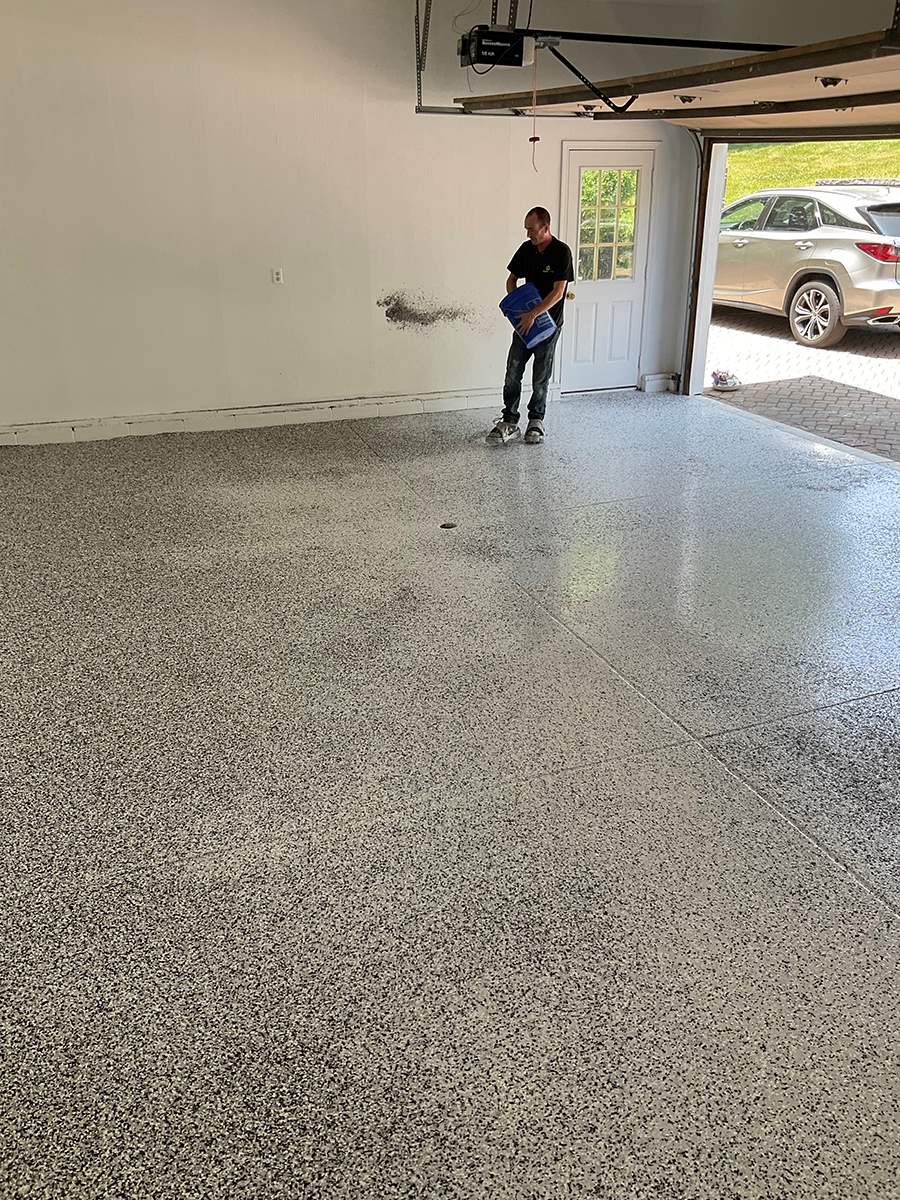
A thick layer of flakes are ‘broadcast’ (that’s a technical word for spread out) into the epoxy. This application not only create a stylish finished look, but it increases the overall strength and slip resistance of the floor.
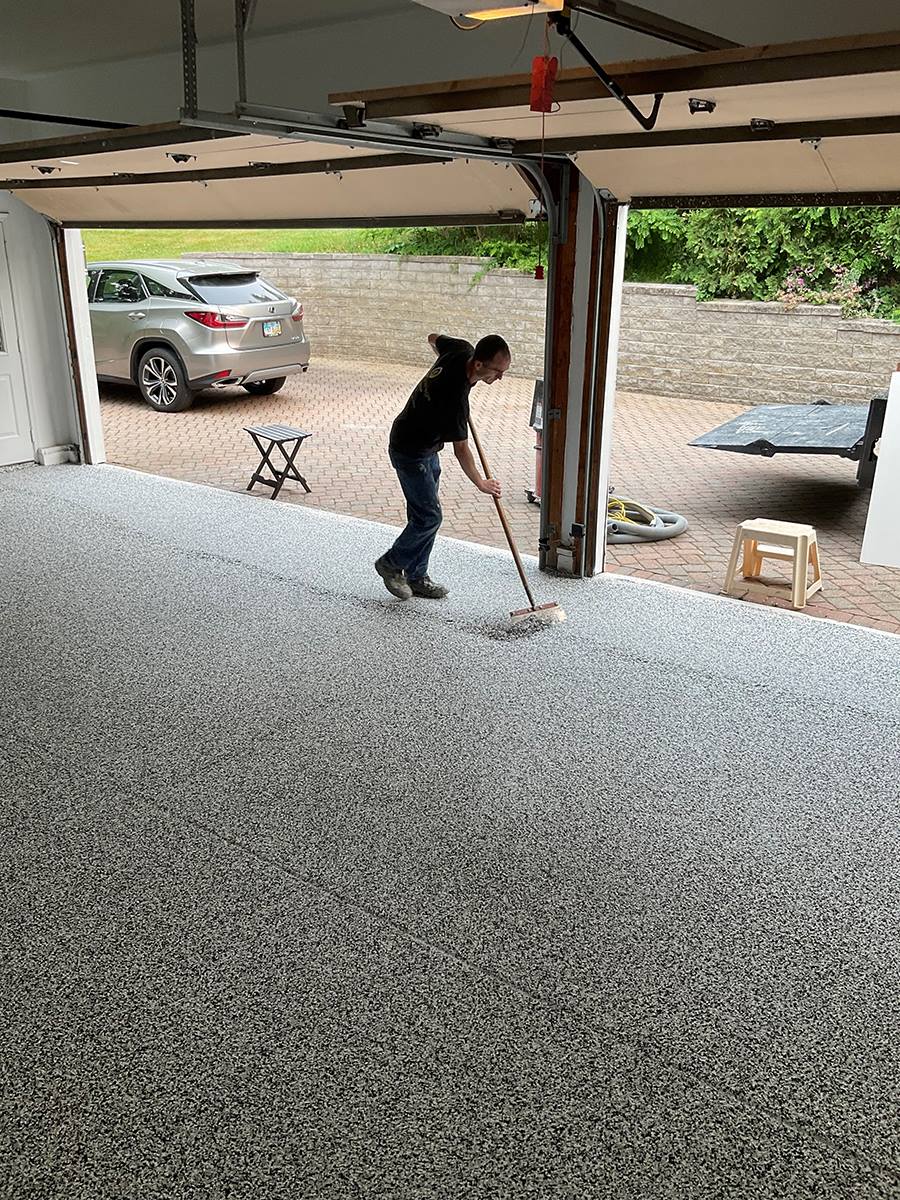
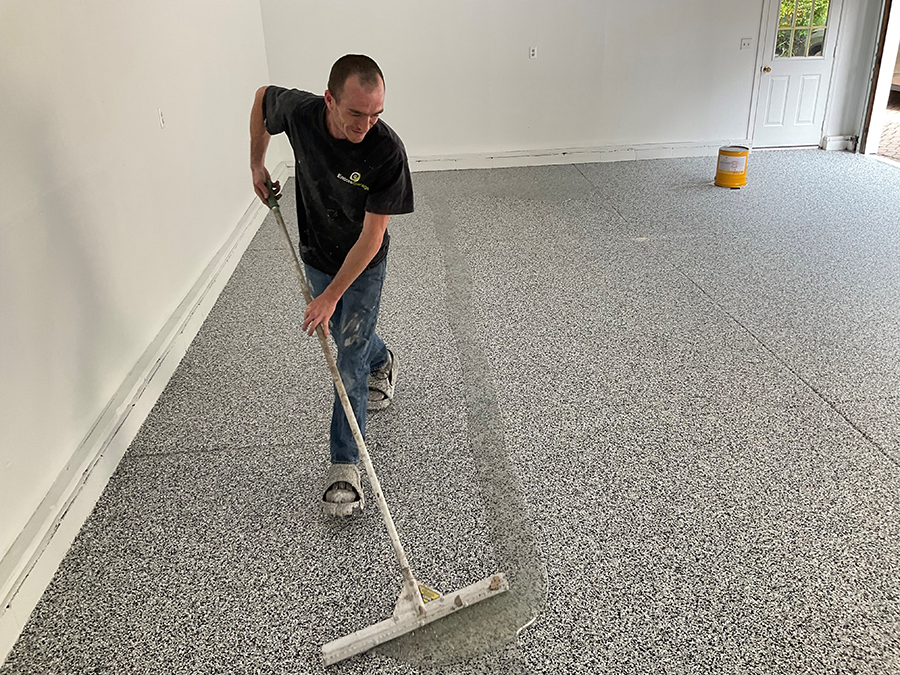
The next day (after the flakes have been absorbed into the epoxy base coat layer below), Tim uses a flat metal edge to smooth out the flakes. He then vacuums the excess flakes so the floor will be ready for the final step.
Note- in DIY systems you’ll get much less density of flakes in a kit (another reason the kits are cheaper, but don’t provide the value of a professional project).
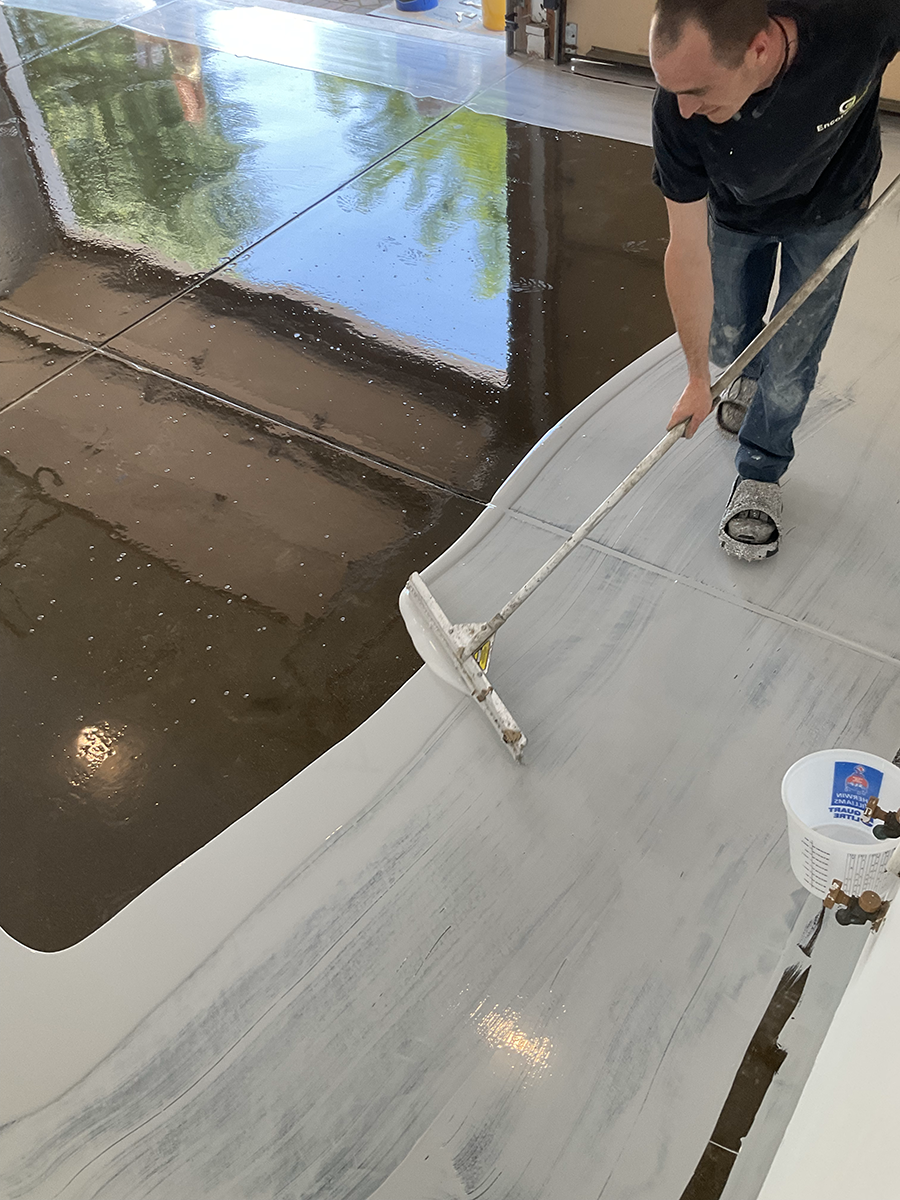
Step 5 – Adding the polyaspartic topcoat.
To complete the job Tim added a polyaspartic top cost he applied with a squeegee and then rolled for a thick and even layer. This application makes the floor UV stable (so it won’t discolor). It also adds scratch, chemical and stain resistance to the floor.
As Mike said to me, “With a properly installed garage floor you can transform your ‘domestic dumping ground (A.K.A. garage)’ into usable space. The garage (which is the largest ‘room’ in the house) can be used for family reunions, events, or as a kid’s playground when the weather is bad.”
The waiting game begins. When can Rose and I (and our impatient son, Grant) use the garage?
The recommended time to walk on the floor is 24 hours and to drive on it is 48 hours. Given our terrible history with the DIY flooring job (which started peeling in the first week) – we decided we weren’t going to walk on it for 2 days and wouldn’t park the cars in the garage until 3 days later (much to our son’s disappointment!).
Preparing for ‘phase 2’ – the garage cabinet installation.
Now that our floor is done (yah us!), we’re preparing for my company (Innovate Home Org) to do the cabinets. Since we’ll be working on the long back wall and left side wall, I moved (at 5:30 AM one morning no less) our stuff inside now that the floor is done to the right garage side (away from where the cabinets and slatwall will be installed).
Rose and Grant can now use the garage…but my time to get back in is coming (once the cabinets are in – and the stuff put away).
One warning, and one unintended consequence (‘er more work for me!).
Although Rose and I love, love, love our new garage floor (it’s funny how something so simple can make things feel so good), I do have one complaint for Mike – the owner of Encore garage. Even though we had the garage walls painted before the installation of the floor – after we shut the garage doors and looked at their dirty, unpainted inside surfaces Rose looked at me and said, “You know we HAVE TO paint these garage doors, don’t you?”
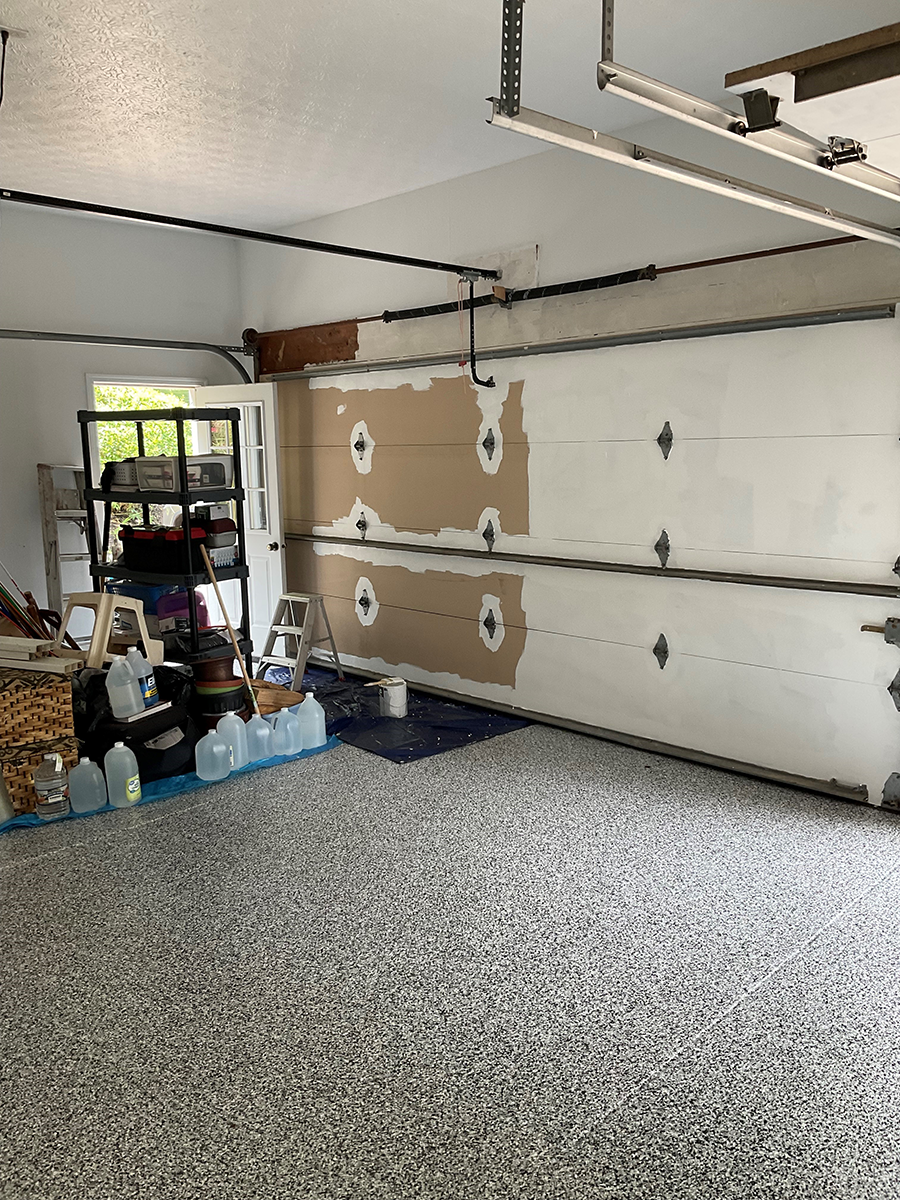
OK, I’m not sure where ‘we’ came into the equation (although I’d be lying if I didn’t tell you Rose offered to help me) – but I ‘inherited’ another job. I’m now painting the inside of the garage doors. Thanks Mike from Encore. I do have an extra paintbrush if you’re not busy this weekend!
Stay tuned for phase 2. Call Mike at Encore Garage if you need help with phase 1 (a garage floor coating system).
As I write this I’m excited our team is due tomorrow to hang the cabinets, slatwall and bench seat. Check out the 3D garage design I created for my installation team (which is lead by Sean Malmsberry, our Operations Manager, who DID NOT have ANY gray in his beard before he started working with me years ago– ha! ha!).
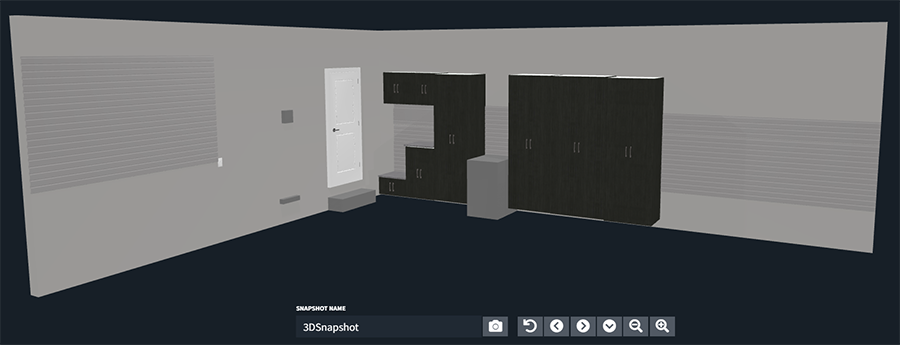
We’ll have cooler storage, more storage, and a stylish (and efficient) garage design. And since it’s my company doing the work, I’ll admit I gave myself a ‘deal’ on these cabinets!
However, if you’re looking at doing ‘phase 1’ (a professionally installed garage floor coating system), call Mike Padden at Encore Garage. Depending on where you live, here’s the best numbers to reach his team.
- In Akron/Canton – 330-922-4411
- In Cleveland – 440-668-8953
- In Columbus – 614-489-8017
- In Pittsburgh – 724-624-9198
And if you’re looking for a professionally designed and installed garage cabinet system in Columbus Ohio, my company (yes – this is where the shameless plug comes in) would love to help. Call Innovate Home Org at 614-545-6888 or click for a Free 3D Garage Design. And if you’re not in Columbus, in the comments below tell me where you live, and I’ll try to find a friend in my home organization industry association to help you.
Thanks for reading about our garage transformation! Mike.
###
If you’d like more information on garage, pantry, entryway or custom closet design follow me on LinkedIn @MikeFotiLinkedIn.
Tags: decorative flakes in garage floor, decorative garage floor, decorative garage floor Columbus, DIY garage flooring, DIY garage flooring kit, DIY vs. professional garage floor, Encore Garage, Encore Garage Ohio, garage cabinet designer, garage cabinet designer Columbus, garage cabinetry Columbus, garage cabinetry systems, garage floor coating guarantee, garage floor coating mistakes, garage floor coating process, garage floor coating system, garage flooring, garage flooring Akron, garage flooring Cleveland, garage flooring Columbus, high performance garage floor, Innovate Home Org, Organized garage Akron, organized garage Columbus, quality garage floor coating
Carlissa Montoya
| #
I love it, Mike! I am so happy our friends in Ohio took great care of you. I am looking forward to your part two of this beautiful transformation!
Reply
Mike Foti
| #
Thanks Carly! We recently completed the garage cabinets – which look wonderful. Now I have to finish painting the garage doors and put our stuff into the cabinets – then I can write the article. Mike
Reply
Larry Waserback
| #
We all have done projects and understand that there are unforeseen issues. The moisture/bubbling would likely not have been noticed and addressed by me if I was doing it myself. Good thing you hired a professional for both the installation and the better grade product. Hope this floor lasts a long time.
Reply
Mike Foti
| #
Thanks Larry – these are the kinds of issues professional contractors resolve, but amateurs cover over and then the product doesn’t last as long. Mike
Reply
Paul T.
| #
Hi Again Mike, I noticed our 70+ year garage floor had some areas that were pitting. I met Rick St. Onge (rick@columbusgaragefloorcoating.com) at the Columbus Home & Garden Show. He came out, gave an estimate, and we signed up. He also has been in business for I think about 19 years and does the industrial installation. I took pictures of where everything goes before moving everything off the floor only, to a U-Haul for 4 days. One problem is that if either of us go into the garage and see a leaf or dirt on our beautiful new gray / black / white flake floor, we sweep it up now.
Reply
Mike Foti
| #
Paul – I can relate. Ever since Rose and I completed our garage floor we’re sweeping it out more also. It’s also nice to add cabinets. A garage always looks messy with open shelving. I’m glad you’re enjoying your garage even though you might be wearing our your broom more frequently – ha! ha! Mike
Reply